
P369 Community Water Fluoridation Expansion in the...

Approx. 01:30
Free to view live of verifiable CPD
An overview of the evidence base for water fluoridation, the why and how to engage with the public consultation....
ViewIndividual or Group Subscription members have access to courses relevant to their registered profession as part of their membership. Courses not intended for the registered profession can be purchased by the individual member.
Access to courses on the Premium Learning page are NOT included in the membership.
PAYG members can purchase access to any course listed on the E-Learning, Webinar and Premium Learning pages.
All of the live Webinars listed are FREE to view on the date and time advertised. A fee will be applied for the CPD certificate when it is claimed by non-subscription members.
of verifiable CPD
An overview of the evidence base for water fluoridation, the why and how to engage with the public consultation....
View/P809%20Radiography%20and%20Radiation%20Protection%20(IRMER).jpg)
of verifiable CPD
A series of 5 interactive modules for dentists, hygienists and therapists, providing guidelines on:Radiati...
More InfoPurchase CPD%20Radiography%20for%20Dental%20Nurses/P812%20(IRMER)%20Radiography%20for%20Dental%20Nurses.jpg)
of verifiable CPD
A series of 5 modules satisfying the requirements of the Ionising Radiation (Medical Exposure) Regulations (IRMER17)and IR...
More InfoPurchase CPD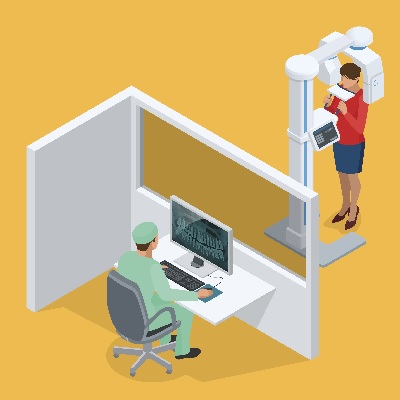
of verifiable CPD
In collaboration with CGDent this recorded webinar covers the content of the Dental Guidance Notes – 2nd Edition and...
More InfoPurchase CPD
of verifiable CPD
This training course is specifically tailored for non-clinical staff. If you are a clinical dental team m...
More InfoPurchase CPD
of verifiable CPD
This advanced level course is specifically tailored for clinical staff and inc...
More InfoPurchase CPD
of verifiable CPD
Safeguarding means protecting people’s health, wellbeing and human rights, and enabling them to live free from harm,...
More InfoPurchase CPD
of verifiable CPD
The employer has a duty of care towards their employees, patients and others who visit or work at the dental surgery to pr...
More InfoPurchase CPD
of verifiable CPD
In this series of webinars, presented by Keerut Oberai, attendees will gain an overview of the topic of dental ethics. To ...
More InfoPurchase CPDof verifiable CPD
This is the second webinar in the Dental Ethics series, presented by Keerut OberaiThis recorded webinar aims to h...
More InfoPurchase CPDof verifiable CPD
This third recorded webinar in the Dental Ethics series presented by Keerut Oberai discusses the topics of consent and cap...
More InfoPurchase CPD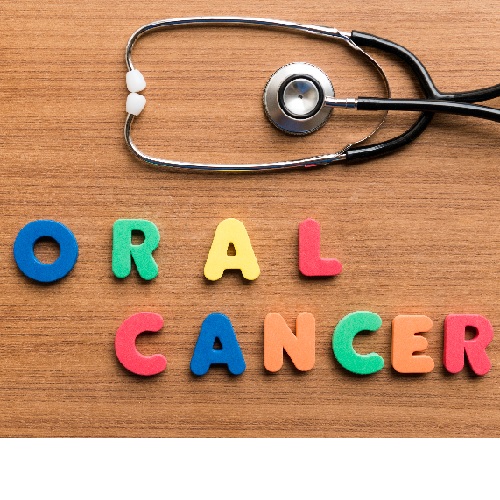
of verifiable CPD
Early detection of oral cancer is crucial to increasing survival rates. The process is not just about understanding the si...
More InfoPurchase CPD/P725%20Handling%20complaints%20CQC%20outcome%2017%20(Regulation%2016).jpg)
of verifiable CPD
Patients should know that they will be listened to and action taken when needed. You must demonstrate consistent ways of d...
More InfoPurchase CPD
of verifiable CPD
Anaphylaxis is a severe, life threatening condition. This article will go through the causes and likely outcomes, as well ...
More InfoPurchase CPD
of verifiable CPD
This presentation features discussions of how disability can impact providing oral health and treatment. Dental care profe...
More InfoPurchase CPD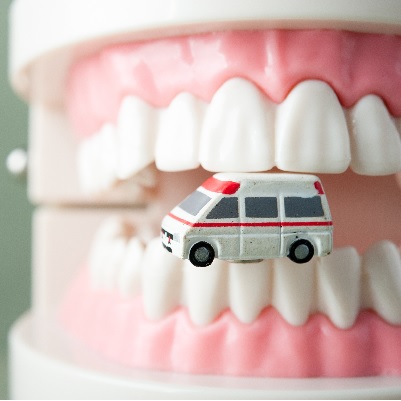
of verifiable CPD
An ‘ABCDE’ approach to managing deteriorating patients has proved an effective method of recognising deteriora...
More InfoPurchase CPD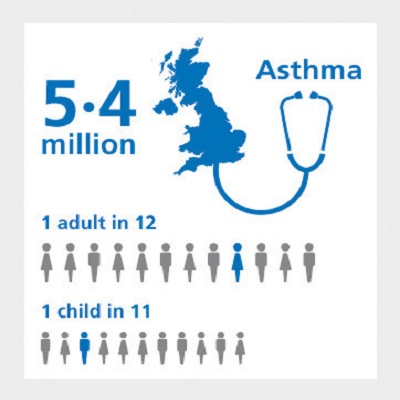
of verifiable CPD
Asthma is a disease in which the bronchial tubes in the lungs narrow and the lining of the airways becomes inflamed to suc...
More InfoPurchase CPD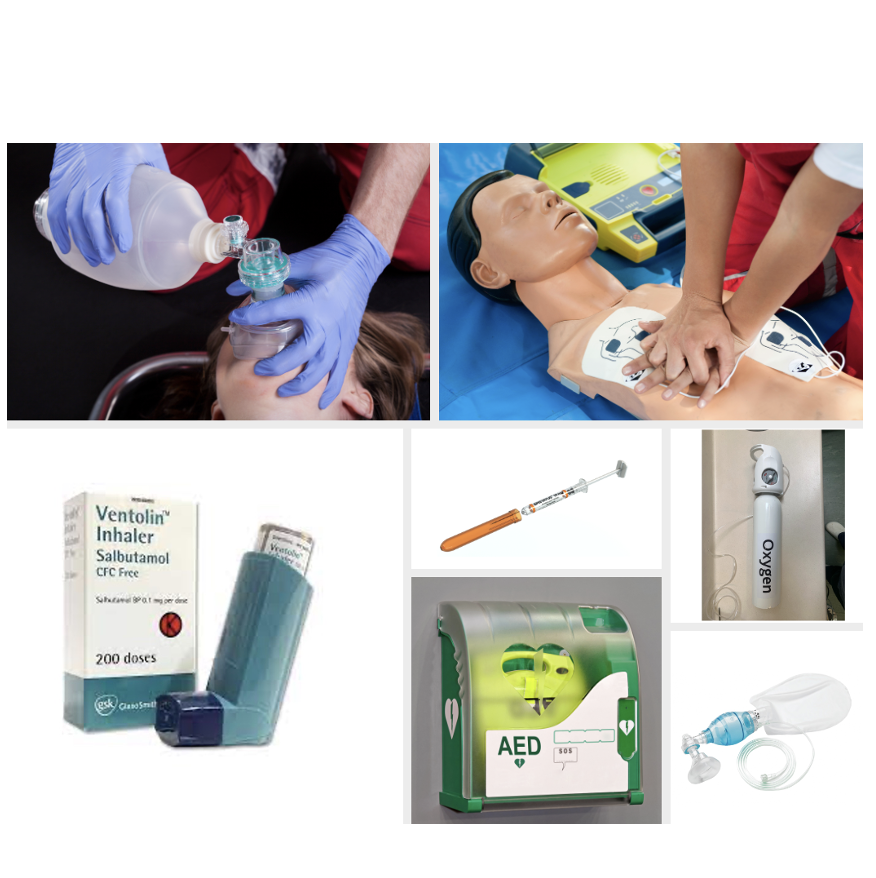
of verifiable CPD
We never want to find ourselves in a medical emergency situation - but it can happen.Its really important to:...
More InfoPurchase CPD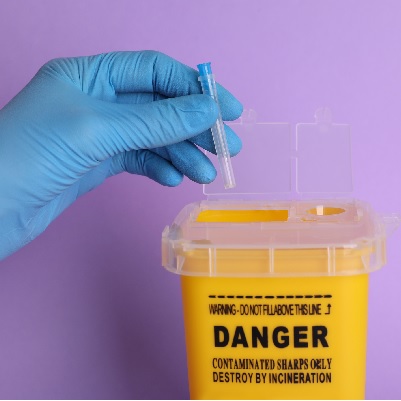
of verifiable CPD
Sharps and needlestick injuries are an occupational hazard for all healthcare workers, worldwide. Research shows that over...
More InfoPurchase CPD
of verifiable CPD
Epilepsy is a common chronic neurological disorder characterised by recurrent unprovoked seizures. These seizures are tran...
More InfoPurchase CPD
of verifiable CPD
Usually defined as a transient loss of consciousness due to cerebral ischaemia caused by a reduction in blood supply to th...
More InfoPurchase CPD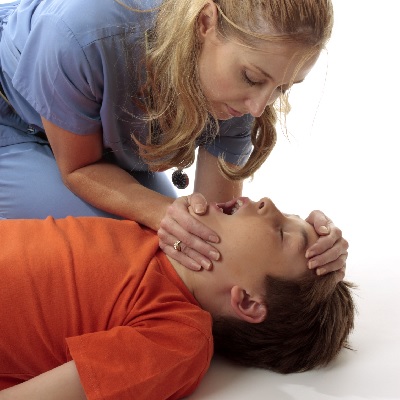
of verifiable CPD
These BLS guidelines have been produced in association with the Resuscitation Council (UK) the guidelines were last update...
More InfoPurchase CPD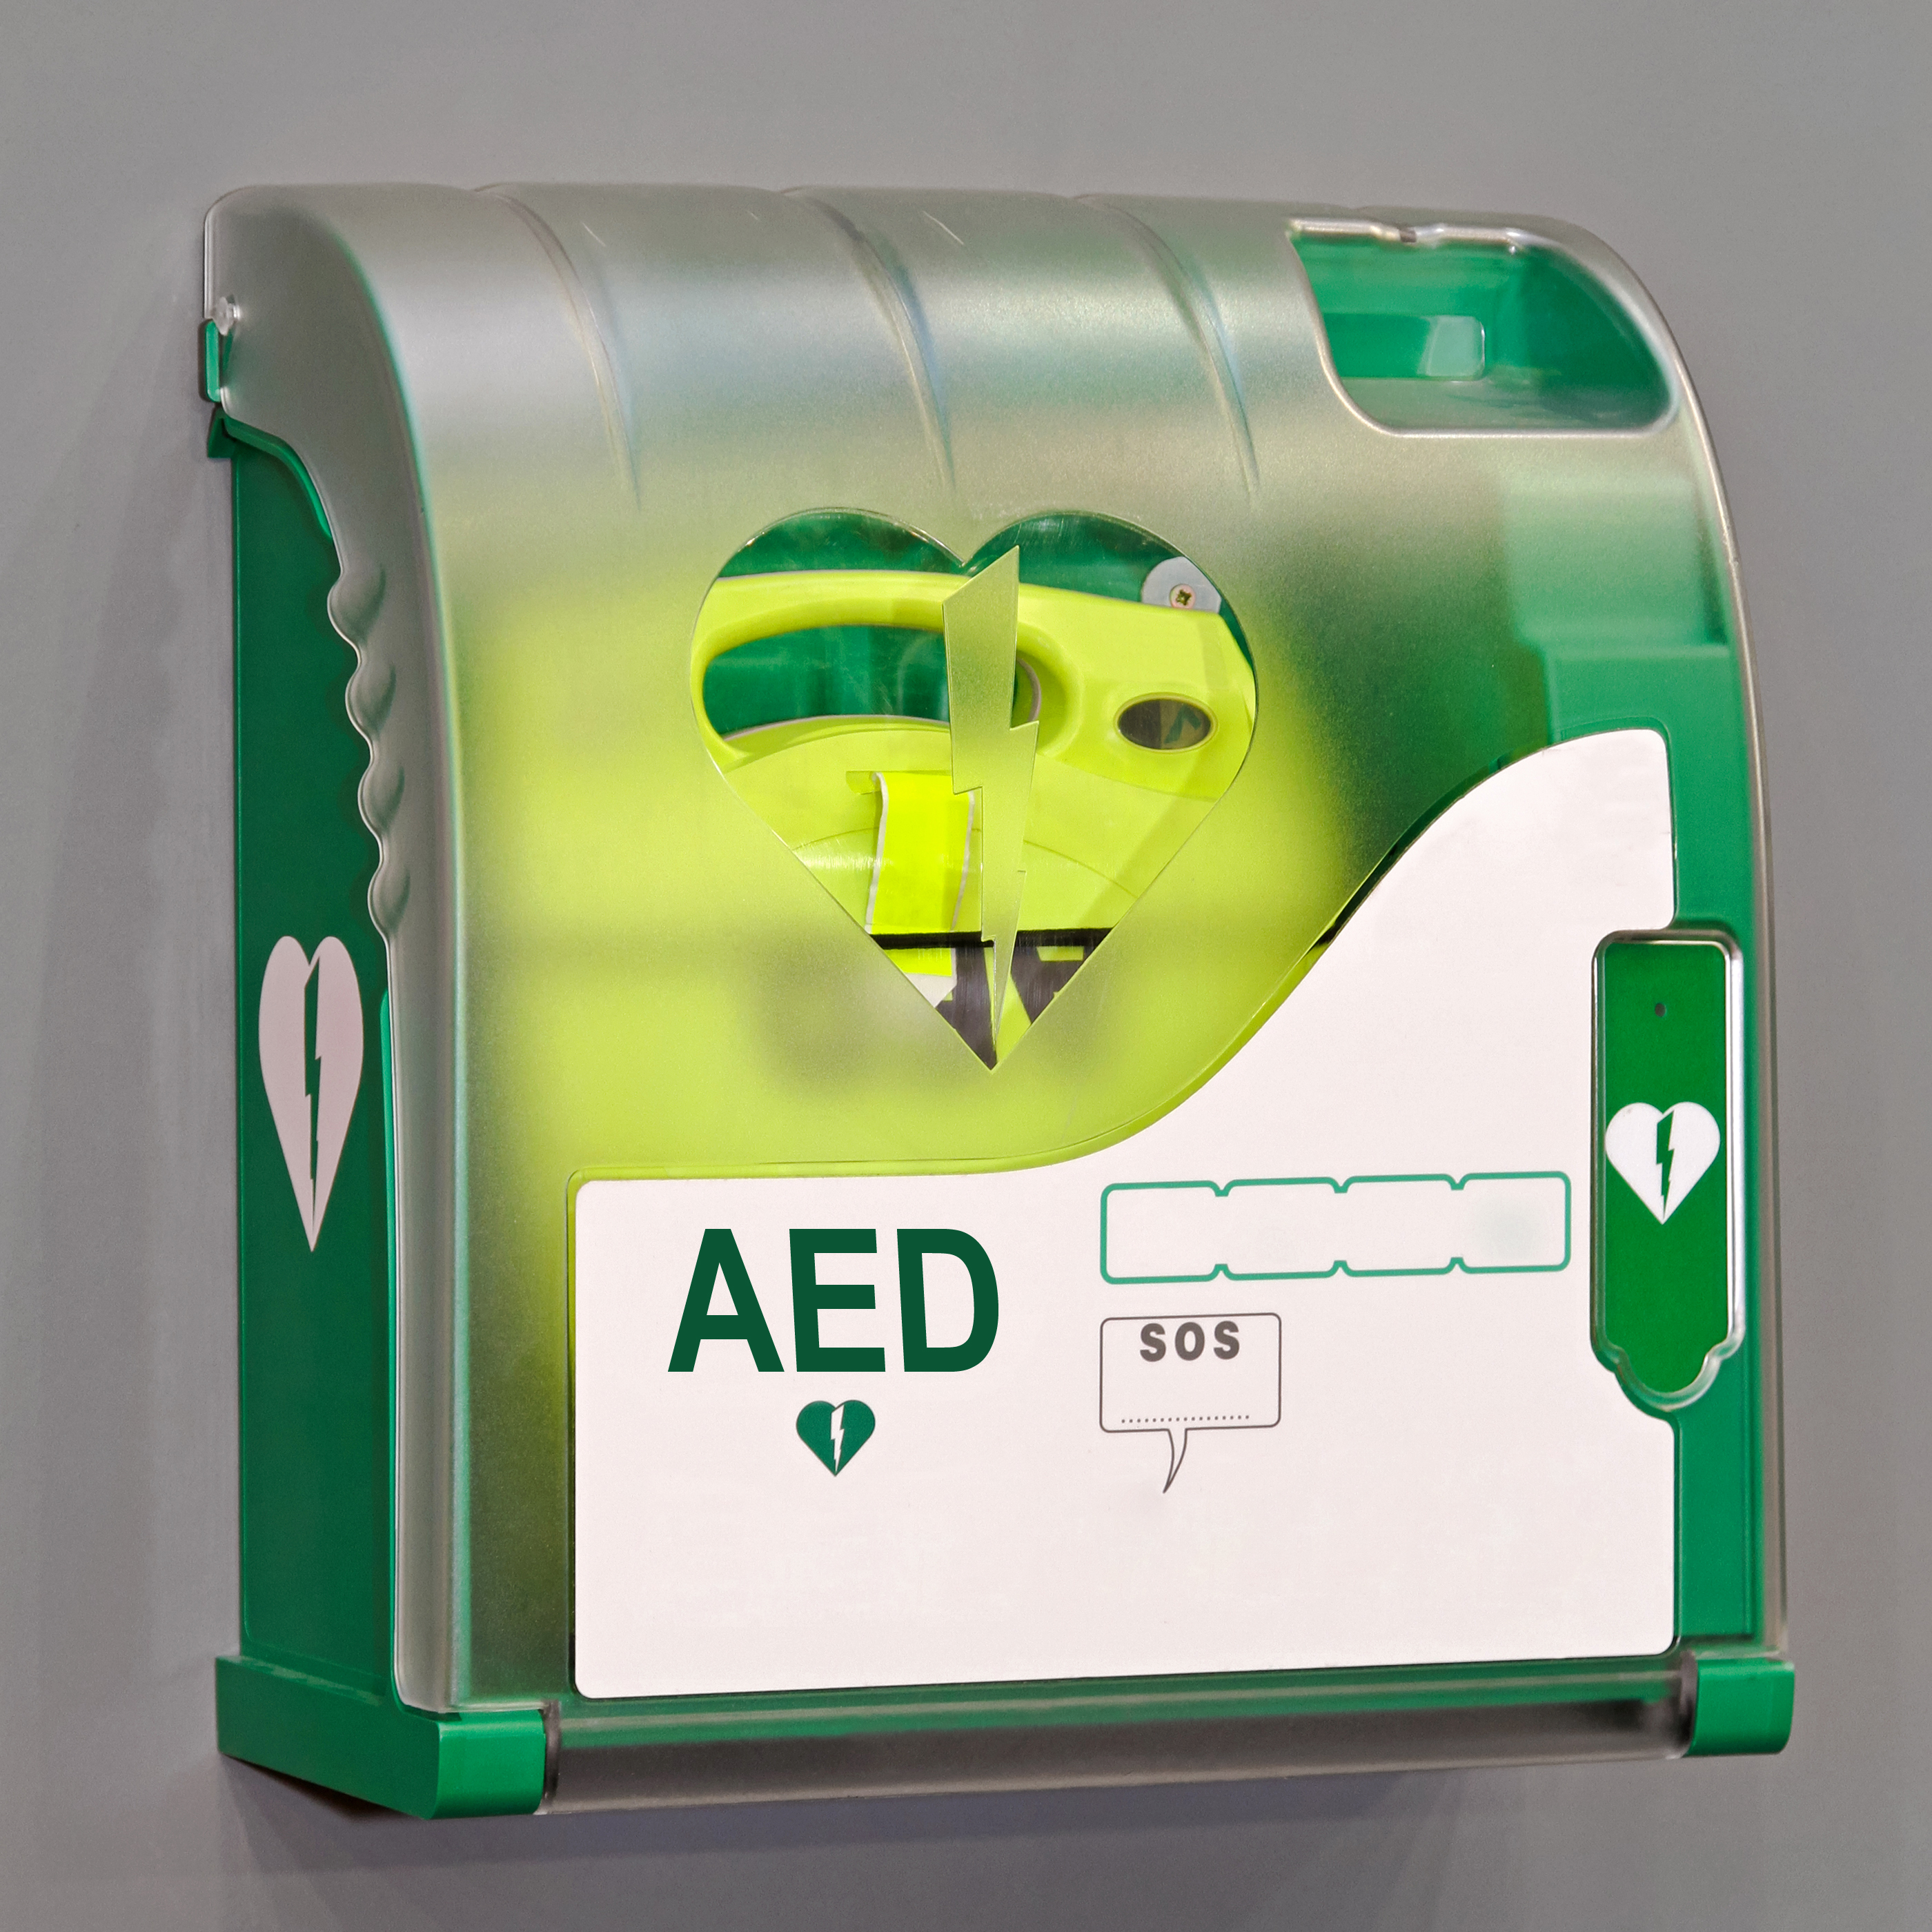
of verifiable CPD
This article contains guidelines for the use of automated external defibrillators (AEDs) by laypeople, first responders an...
More InfoPurchase CPD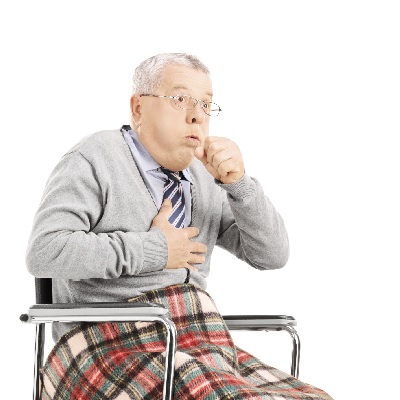
of verifiable CPD
Choking is the physiological response to sudden airways obstruction. Foreign body airway obstruction (FBAO) causes asphyxi...
More InfoPurchase CPD
of verifiable CPD
Adrenal insufficiency is a condition in which the adrenal glands do not produce adequate amoun...
More InfoPurchase CPD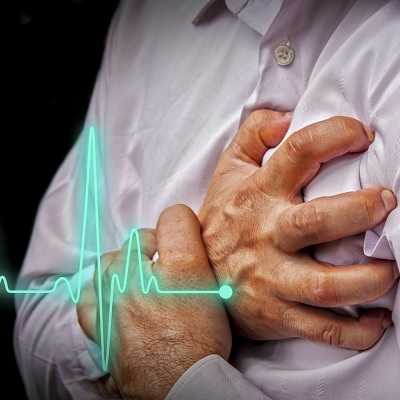
of verifiable CPD
The signs and symptoms of cardiac emergencies include chest pain, shortness of breath, fast and slow heart rates, increase...
More InfoPurchase CPD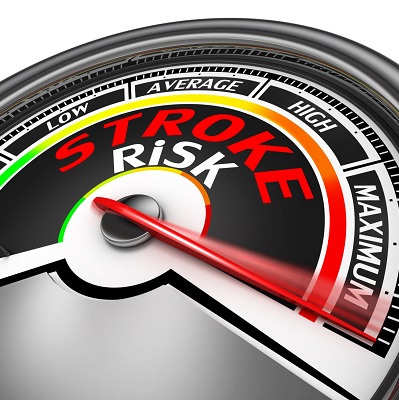
of verifiable CPD
The clinical features of a stroke can vary considerably and are dependent on the area of the brain which has been affected...
More InfoPurchase CPD
of verifiable CPD
A review of the causes, prevention and treatment of hypo and hyperglycaemia...
More InfoPurchase CPD
of verifiable CPD
Esthetic restorations represent a significant and increasing portion of dental services and income. Closely related to the...
More InfoPurchase CPD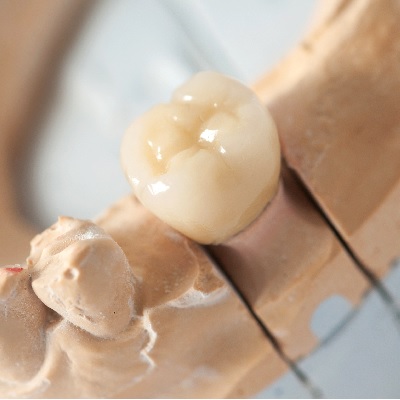
of verifiable CPD
The plethora of ceramic systems available today for all types of indirect restorations can be confusing and overwhelming f...
More InfoPurchase CPD
of verifiable CPD
The 1950s and 1960s have often been called the Golden Age of Dentistry - as patients flocked to dental offices to address ...
More InfoPurchase CPD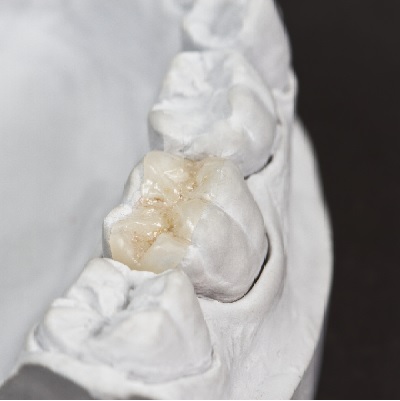
of verifiable CPD
Bonding porcelain restorations can be problematic and time consuming, which has caused many dentists to avoid using bonded...
More InfoPurchase CPD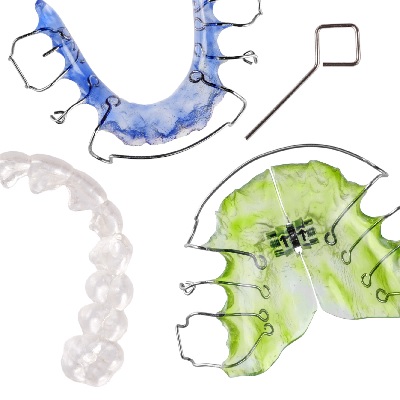
of verifiable CPD
All GDC registrants involved in prescribing, manufacturing and fitting dental appliances have a role to play in protecting...
More InfoPurchase CPD
of verifiable CPD
Effective and regular maintenance of equipment in a dental laboratory is essential to the day to day use and efficacy of t...
More InfoPurchase CPD
of verifiable CPD
In collaboration with The College of General Dentistry.The bedrock of delivering cosmetic dentistry remains effec...
More InfoPurchase CPD
of verifiable CPD
In collaboration with BADN and CGDent, this recorded webinar explores how dental professionals play an essential role in t...
More InfoPurchase CPD
of verifiable CPD
In collaboration with the British Association of Dental Nurses and the College of General Dentistry, this recorded webinar...
More InfoPurchase CPD
of verifiable CPD
Do you often feel as though you are running on a hamster wheel, expending lots of energy, but wondering if you’re ac...
More InfoPurchase CPD
of verifiable CPD
The advantages of the Densah bur system to improve bone quality in implant patients....
More InfoPurchase CPD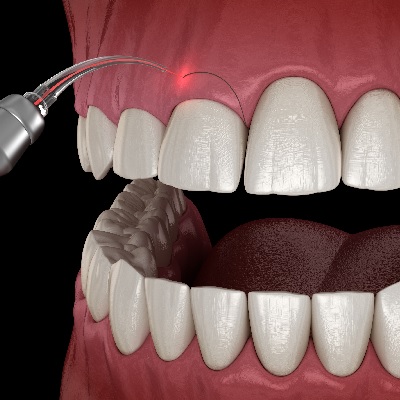
of verifiable CPD
This recorded webinar will help guide the decision of how to plan and perform modification of the gingival contour in the ...
More InfoPurchase CPD
of verifiable CPD
This recorded lecture gives deep insights in the Concept of Biological Bone Augmentation (BBA) with pure autogenous bone a...
More InfoPurchase CPD
of verifiable CPD
Development in the field of laser dentistry has taken place at a rapid pace in recent years. Therapeutic concepts that see...
More InfoPurchase CPD
of verifiable CPD
This recorded webinar looks at the advantages of pterygoid implants for patients with limited bone in the maxilla
More InfoPurchase CPD
of verifiable CPD
A recording of a live webinar looking at all the options for replacing missing teeth....
More InfoPurchase CPD
of verifiable CPD
This recorded webinar will revise the principles of pulp diagnosis and health. In the absence of pulp health due to ...
More InfoPurchase CPD
of verifiable CPD
This recorded webinar Looks at the impact of occlusion on restoration success and failure, and also the maintenance of the...
More InfoPurchase CPD
of verifiable CPD
This recorded webinar is aimed at igniting your enthusiasm and love for dentures, showing how we can change our patients&r...
More InfoPurchase CPD
of verifiable CPD
This recorded webinar is aimed at dentists to guide them through most frequently asked questions....
More InfoPurchase CPD
of verifiable CPD
Optimising host healing with synthetic graft materials. This course looks at the abilities of synthetic...
More InfoPurchase CPD
of verifiable CPD
During this recorded webinar we discuss common complications and how to treat them....
More InfoPurchase CPD
of verifiable CPD
The objective of this recorded webinar presentation is to provide a systematic workflow for data capture in clinic to allo...
More InfoPurchase CPD
of verifiable CPD
A discussion of the clinical process from presentation of a dental trauma to discharge considering some of the evidence ba...
More InfoPurchase CPD
of verifiable CPD
More and more people are wearing their teeth and the management of this wear is critical to successful treatment. This rec...
More InfoPurchase CPD
of verifiable CPD
This recorded lecture will look frankly and controversially at the way our industry operates and the kind of patients many...
More InfoPurchase CPD
of verifiable CPD
What's new in digital dental workflows and how that can be utilised in general practice to enhance the patient experience,...
More InfoPurchase CPD
of verifiable CPD
This recorded webinar looks at the role of CBCT in implant dentistry including training and regulations....
More InfoPurchase CPD
of verifiable CPD
Speaker Mike Gow, has had a passion for helping people who have dental anxiety and phobia for many years and will share hi...
More InfoPurchase CPD
of verifiable CPD
Speaker Amin Aminian - This recorded webinar will discuss advanced concepts in occlusion with a brief overview of restorat...
More InfoPurchase CPD
of verifiable CPD
This recorded webinar provides a balanced introduction to planning, placing and restoring dental implants....
More InfoPurchase CPD
of verifiable CPD
This recorded webinar will discuss the different techniques for soft tissue modelling around single tooth implant restorat...
More InfoPurchase CPD
of verifiable CPD
This recorded webinar is aimed at dentists looking at their retirement planning and is focused on the dental practice sale...
More InfoPurchase CPD
of verifiable CPD
This recorded webinar looks at the different types of pathogens and highlight the requirements to mitigate the risks based...
More InfoPurchase CPD
of verifiable CPD
For many years dentistry has been dominated by prevailing occlusal concepts that were initially presented in the 60’...
More InfoPurchase CPD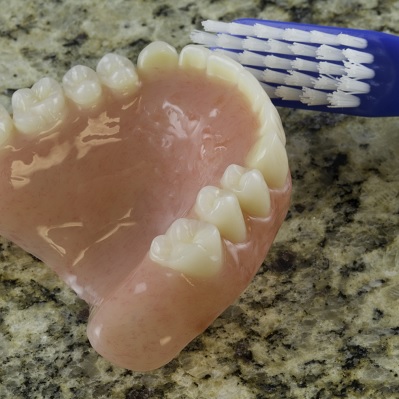
of verifiable CPD
Plaque formed on the surfaces of removable dentures can have a significant impact on oral health, as long as it can lead t...
More InfoPurchase CPD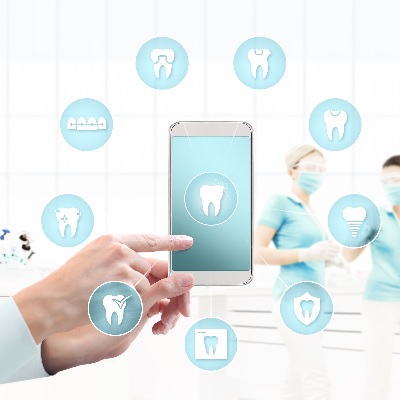
of verifiable CPD
This recorded webinar looks at planning and communicating creatively in the digital world....
More InfoPurchase CPD
of verifiable CPD
This recorded presentation will discuss the key evolutions in apical surgery that ensure this is a predictable treatment m...
More InfoPurchase CPD
of verifiable CPD
This presentation by Jon Drysdale considers the financial planning ‘crossroads’ that dentists are faced with a...
More InfoPurchase CPD
of verifiable CPD
In collaboration with FGDPCurrently, there is high incidence of stress and depression among dental practitioners ...
More InfoPurchase CPD
of verifiable CPD
In an increasingly litigious society, with dentistry changing rapidly speaker Kiaran Weil presents a recorded webinar taki...
More InfoPurchase CPD
of verifiable CPD
In collaboration with FGDP and CGDent.This recorded discussion will look at real life examples and highlight ways...
More InfoPurchase CPD
of verifiable CPD
This recorded webinar will focus on how we can use friction to retain an implant crown, the thinking, the process and the ...
More InfoPurchase CPD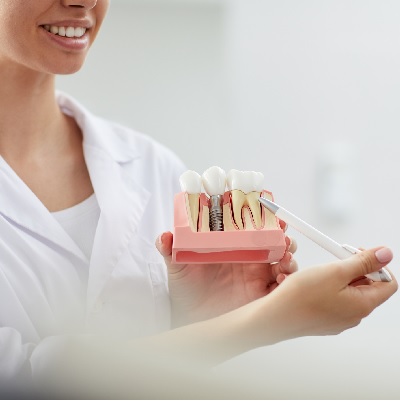
of verifiable CPD
In collaboration with the College of General Dentistry.Mentoring in Implant Dentistry has significantly changed o...
More InfoPurchase CPD
of verifiable CPD
Our diet and lifestyles contribute to our change in oral health. More patients are being seen with severe tooth wear, whet...
More InfoPurchase CPD
of verifiable CPD
The role of a treatment coordinator (TCO) can reduce chair time for the clinician, improve patient satisfaction and increa...
More InfoPurchase CPD
of verifiable CPD
The content of this course was correct on the date of the live broadcast 18.8.2020.Dentistry in ...
More InfoPurchase CPD
of verifiable CPD
This recorded webinar is a relatively short presentation on the large topic of Dental Implant Nursing. Implant Dentistry i...
More InfoPurchase CPD
of verifiable CPD
This recorded webinar discusses 4-handed techniques for general practice and highlight the many benefits to dentists, dent...
More InfoPurchase CPD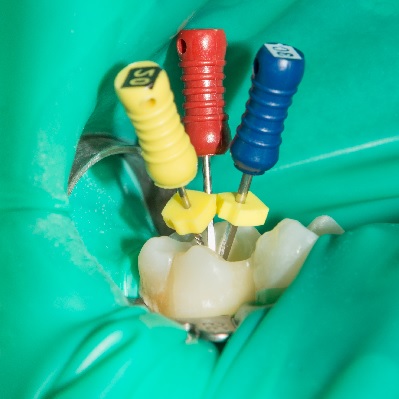
of verifiable CPD
This recorded webinar will consider the benefits of rubber dam use in endodontics and restorative dentistry and techniques...
More InfoPurchase CPD
of verifiable CPD
This recorded webinar introduces the dental team to nutrition and the effects of sugar on the body....
More InfoPurchase CPD
of verifiable CPD
This recorded webinar will look at the role that everyone has to play in safeguarding antibiotics for future generations.
More InfoPurchase CPD
of verifiable CPD
“Our patients are adaptable”, that’s what I hear but how do we know. Do they adapt by reducing the chewi...
More InfoPurchase CPD
of verifiable CPD
This recorded webinar, although primarily aimed at dentists about to begin their first self-employed associate role, will ...
More InfoPurchase CPD
of verifiable CPD
Unerupted maxillary canines can present a challenge for the general dental practitioner. Recognising when maxillary canine...
More InfoPurchase CPD
of verifiable CPD
How would it be if I could show you, in one hour, how to change your life & career forever? To increase the performanc...
More InfoPurchase CPD
of verifiable CPD
This recorded webinar, presented by Natalie Bradley, looks at the problem of homelessness in the UK, the oral health needs...
More InfoPurchase CPD.jpg)
of verifiable CPD
IV Sedation is a very safe treatment but complications do happen. To build confidence for the entire team this recorded we...
More InfoPurchase CPD
of verifiable CPD
This recorded webinar will help you through those challenging HR issues, from getting the team back to work, to redundancy...
More InfoPurchase CPD
of verifiable CPD
This recorded webinar will discuss Dr Mahony’s PhD research looking into the multidisciplinary approach to...
More InfoPurchase CPD
of verifiable CPD
This recorded webinar will provide a basic introduction to employment law, covering legal matters which are relevant for t...
More InfoPurchase CPD
of verifiable CPD
This recorded webinar is aimed at dentists looking at their retirement planning and is focused on the dental practice sale...
More InfoPurchase CPD
of verifiable CPD
The CSR Advantage addresses your business’ next big challenge and how to turn it to an opportunity.This rec...
More InfoPurchase CPD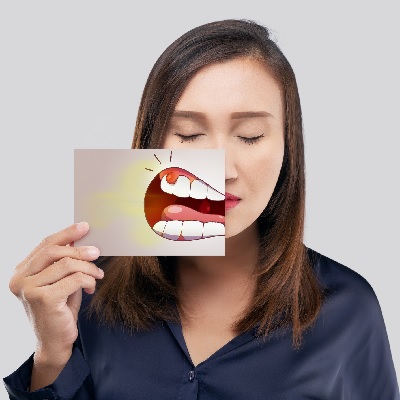
of verifiable CPD
This recorded webinar provides a whistle stop tour of all the key perio topics relevant in general practice...
More InfoPurchase CPD
of verifiable CPD
The content of this course was correct on the date of the live broadcast 12.11.2020.The Malcom P...
More InfoPurchase CPD
of verifiable CPD
Are you interested in giving back as a dental professional?This recorded webinar, for the entire team, has a seri...
More InfoPurchase CPD
of verifiable CPD
Do Teeth Matter? Oral Health of People who Experience Homelessness - The first in the webinar series 'De...
More InfoPurchase CPD
of verifiable CPD
This recorded webinar shares knowledge from aviation, medicine, dentistry and delivers relevant tips for dental practice, ...
More InfoPurchase CPD
of verifiable CPD
This recorded webinar looks at real life examples of gender inequality and highlight ways in which we can reduce inequalit...
More InfoPurchase CPDof verifiable CPD
of verifiable CPD
Presented by Natalie BradleyThe Mobile Dentist, Providing Treatment Using a Mobile Dental Surgery.
More InfoPurchase CPD
of verifiable CPD
In collaboration with the College of General Dentistry, this recorded webinar explores the best way to handle a complant b...
More InfoPurchase CPD
of verifiable CPD
Audit is something we know we're meant to do, when used correctly audit can be a powerful tool to bring about change and i...
More InfoPurchase CPD
of verifiable CPD
The content of this course was correct on the date of the live broadcast 19.9.2020.A recording o...
More InfoPurchase CPD
of verifiable CPD
The content of this course was correct on the date of the live broadcast 8.4.2021.This recorded ...
More InfoPurchase CPD
of verifiable CPD
Hosted by Ian Mills (former dean FGDP)At the end of June 2021 the FGDP transfered to the College of General Denti...
More InfoAdd to Learning Plan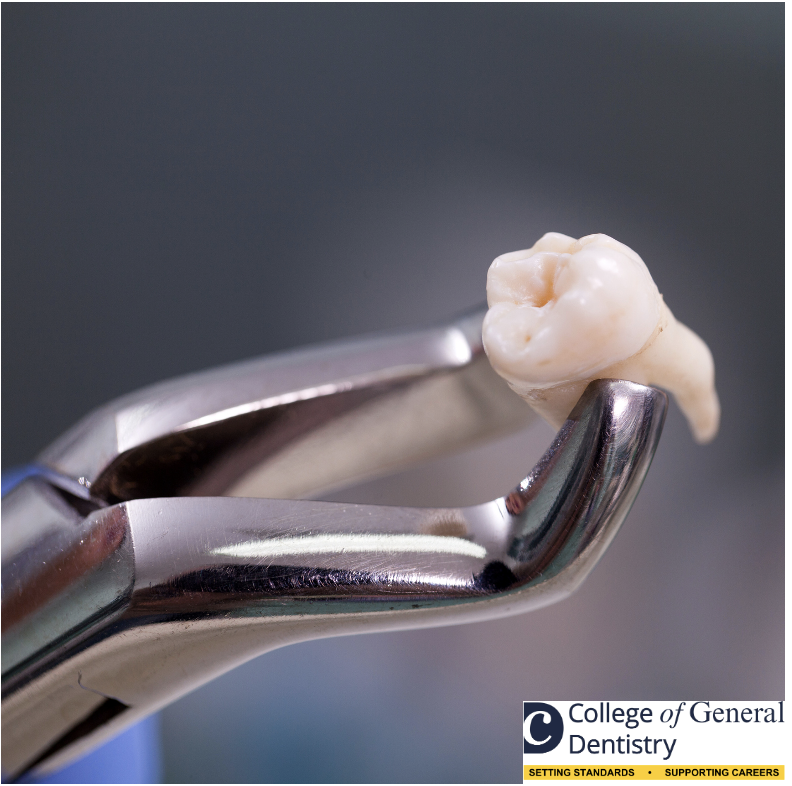
of verifiable CPD
In collaboration with the College of General Dentistry.Dental extractions are one of the most commonly undertaken...
More InfoPurchase CPD
of verifiable CPD
This recorded webinar introduces mediation, explaining how it can be a useful tool when attempting to resolve disputes wit...
More InfoPurchase CPD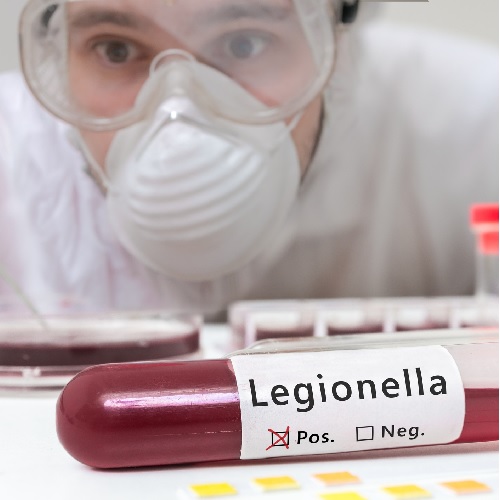
of verifiable CPD
This course will provide you with detail to apply knowledge of legionella bacteria, the law and management of legionella a...
More InfoPurchase CPD
of verifiable CPD
Orthodontic demand is growing all the time. It is useful before a patient is referred to an orthodontist to be able to adv...
More InfoPurchase CPD
of verifiable CPD
Why is there inequality?Where is there inequality?How can we change this?When can ...
More InfoPurchase CPDof verifiable CPD
This recorded webinar produced in collaboration with FGDP and The College of General Dentistry is presented by Dr Hea...
More InfoPurchase CPD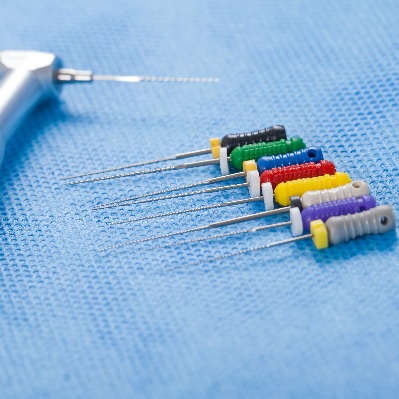
of verifiable CPD
This recorded webinar presented by Simon Manian and Philip Mullen, looks into endodontic treatment, knowing when to r...
More InfoPurchase CPDof verifiable CPD
This recorded webinar produced in collaboration with FGDP and The College of General Dentistry is presented by Dr Hea...
More InfoPurchase CPD
of verifiable CPD
In this recorded webinar Martyn Bradshaw of PFM Dental gives an overview of the current market, valuing a dental practice,...
More InfoPurchase CPD
of verifiable CPD
This recorded webinar will show the use of the bone ring techniques and discuss its applications and limitations....
More InfoPurchase CPD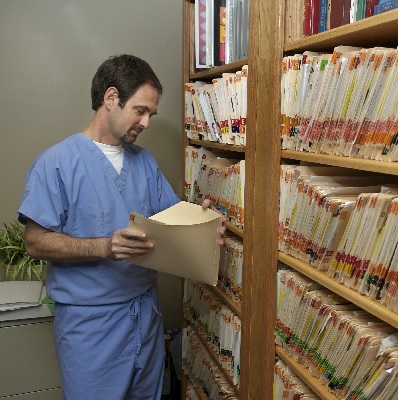
of verifiable CPD
In collaboration with the College of General Dentistry this recorded webinar discusses the importance of comprehensive and...
More InfoPurchase CPD
of verifiable CPD
In this recorded webinar Dr Mahmood Mawjee, the founder of Re-IGNITE, explains how he overcame the stress and anxiety of c...
More InfoPurchase CPD
of verifiable CPD
In collaboration with BOS (British Orthodontic Society), this is the fourth webinar in a series of five designed for Gener...
More InfoPurchase CPD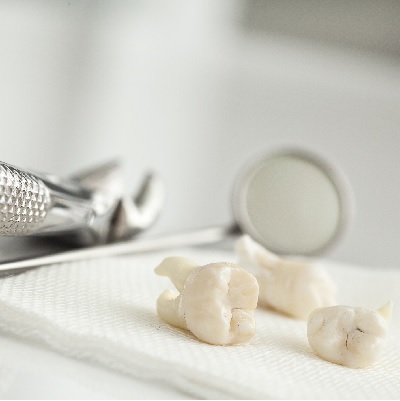
of verifiable CPD
The recorded webinar is in collaboration with the British Orthodontic Society and the College of General Dentistry. Certai...
More InfoPurchase CPD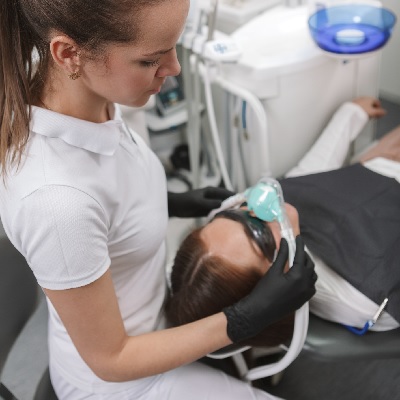
of verifiable CPD
This recorded webinar provides an update on the safe and effective provision of inhalation sedation, looking at equipment,...
More InfoPurchase CPD
of verifiable CPD
In collaboration with The British Dental Students' Association (BDSA) and CGDent. Owning a practice provides huge opportun...
More InfoPurchase CPD
of verifiable CPD
Risk-taking in the business of dentistry can be perilous, using case studies of dentists they have previously helped, Nath...
More InfoPurchase CPD
of verifiable CPD
This recorded webinar, hosted by the University of Manchester (UoM) Antimicrobial Resistance (AMR) Network, is an opportun...
More InfoPurchase CPD
of verifiable CPD
This recorded webinar looks at sustainability in dentistry and healthcare, with a fantastic panel of leading experts in th...
More InfoPurchase CPD
of verifiable CPD
In collaboration with the Society of British Dental Nurses and the College of General Dentistry, this recorded webinar pro...
More InfoPurchase CPD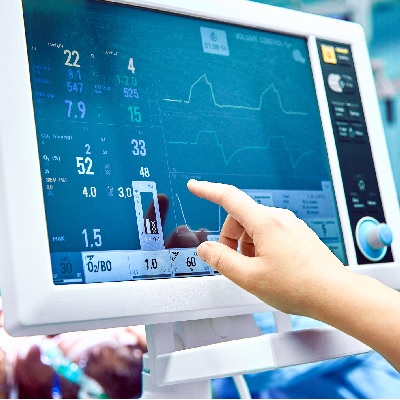
of verifiable CPD
This recorded webinar provides an overview of intravenous sedation for dental practice....
More InfoPurchase CPD
of verifiable CPD
There is a culture of fear and anxiety that affects many clinicians in dental settings. This can lead to defensive dentist...
More InfoPurchase CPD
of verifiable CPD
All dentists, doctors and DCPs providing conscious sedation for NHS or private dental patients must do so in compliance wi...
More InfoPurchase CPD
of verifiable CPD
Is beauty in the eye of the beholder? Does malocclusion impact on psychosocial well-being? What motivates people to seek o...
More InfoPurchase CPD
of verifiable CPD
This recorded webinar discusses what the term 'innovation' means and give a practical definition. The latest oral hygiene ...
More InfoPurchase CPD
of verifiable CPD
Not sure where to go next in your career? Not sure which courses to take? Not sure what opportunities are available to you...
More InfoPurchase CPD
of verifiable CPD
In collaboration with BOS (British Orthodontic Society), this is the final webinar in a series of five designed for Genera...
More InfoPurchase CPD
of verifiable CPD
This is the second recorded webinar in the series for dental technicians.The prosthetic rehabilitation of Head an...
More InfoPurchase CPD
of verifiable CPD
A series of short presentations looking at different aspects of surgical and restorative implant failure.This rec...
More InfoPurchase CPD
of verifiable CPD
Mouth Cancer Action Month is held in November every year and is supported by the Mouth Cancer Foundation and the Oral...
More InfoPurchase CPD
of verifiable CPD
Mouth Cancer Action Month is held in November every year and is supported by the Mouth Cancer Foundation and the Oral...
More InfoPurchase CPD
of verifiable CPD
In collaboration with CGDent.This recorded webinar looks at women in dentistry and the positive change in gender ...
More InfoPurchase CPD
of verifiable CPD
This recorded CGDent webinar looks at the global efforts in tackling antimicrobial resistance locally....
More InfoPurchase CPD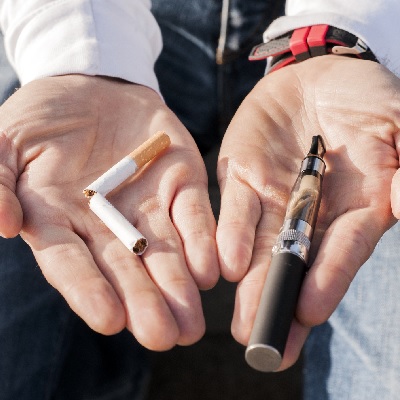
of verifiable CPD
This recorded webinar for the entire dental team both introduces the opportunities available for the dental team to get in...
More InfoPurchase CPD
of verifiable CPD
Autotransplantation is an under-utilised technique in which a tooth is surgically repositioned within the same patient. It...
More InfoPurchase CPD
of verifiable CPD
The Dental Technician Magazine and ProDental CPD launched DTCPD, an exciting new scheme for dental technicians to join sel...
More InfoPurchase CPD
of verifiable CPD
This CGDent recorded webinar examines the issue of professionalism in relation to dental colleagues, and how it impacts up...
More InfoPurchase CPD
of verifiable CPD
This CGDent recorded webinar aims to explore some myths about leadership and understand the importance of leadership in de...
More InfoPurchase CPD
of verifiable CPD
This recorded webinar provides an overview of some key medical conditions, which the clinician should be familiar with, an...
More InfoPurchase CPD
of verifiable CPD
Are you the person in the team who bounces from solving one problem to solving the next? Do you feel as though you n...
More InfoPurchase CPD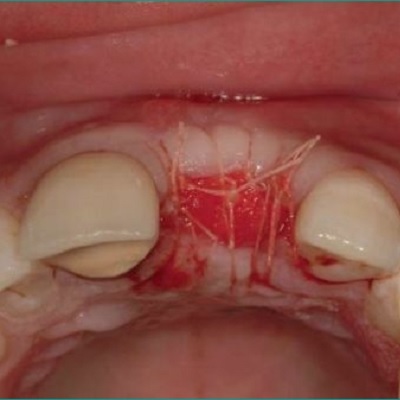
of verifiable CPD
While immediate implant placement into extraction sockets has gained in popularity in recent years, there are a number of ...
More InfoPurchase CPD
of verifiable CPD
This three-part webinar series in collaboration with the College of General Dentistry and led by...
More InfoPurchase CPD
of verifiable CPD
What is professionalism, who defines it, what is it worth, does it apply to technicians?This recorded webinar loo...
More InfoPurchase CPD
of verifiable CPD
This CGDent recorded webinar explores the main changes in the IADT 2020 Guidelines for the Management of Traumatic Dental ...
More InfoPurchase CPD
of verifiable CPD
The goal of this Bridge2Aid recorded webinar is to provide a platform for people working in the remote, rural and humanita...
More InfoAdd to Learning Plan
of verifiable CPD
This recorded webinar looks at the rehabilitation of patients with maxillary and mid-facial malignancy using Zygomatic Imp...
More InfoPurchase CPDof verifiable CPD
This recorded webinar is the first of two webinars which aim to raise awareness and understanding around the NHS dental co...
More InfoPurchase CPDof verifiable CPD
The second recorded webinar in the series aims to raise awareness and understanding around the NHS dental contract changes...
More InfoPurchase CPD
of verifiable CPD
This recorded webinar helps you to discover how to motivate, encourage and grow your team into a successful practice....
More InfoPurchase CPD
of verifiable CPD
In order to improve the outcomes of implant treatments in highly aesthetic areas and to prevent ridge collapse post extrac...
More InfoPurchase CPD
of verifiable CPD
This recorded webinar explores recent research about custom-made mouthguards and the effects of design differences on pati...
More InfoPurchase CPD
of verifiable CPD
This recorded webinar will look at how to support implant patients through their treatment journey using a team approach a...
More InfoPurchase CPD
of verifiable CPD
In this CGDent recorded webinar, speakers examine the issues surrounding social inequalities and consider how they may aff...
More InfoPurchase CPD
of verifiable CPD
Guided surgery for implant placement is not a new concept in implant dentistry. Restoratively driven implant placement is ...
More InfoPurchase CPD
of verifiable CPD
In collaboration with CGDent this recorded webinar provides assistance to strengthen and develop dental teams’ relat...
More InfoPurchase CPD
of verifiable CPD
In collaboration with the College of General Dentistry, we explore how with knowledge, understanding and experience, analo...
More InfoPurchase CPD
of verifiable CPD
This recorded webinar aims to raise the profile of community water fluoridation amongst all of the dental team, explaining...
More InfoPurchase CPD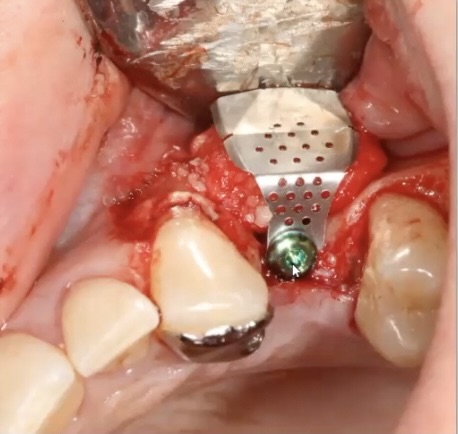
of verifiable CPD
Guided Bone Regeneration is a procedure all dentists placing implants should be competent in. However, performing these pr...
More InfoPurchase CPD
of verifiable CPD
Appraisals are often seen as something we must do because it meets compliance requirements and because we know it’s ...
More InfoPurchase CPD
of verifiable CPD
In collaboration with the College of General Dentistry, this recorded webinar was co-hosted by Ian Wilson (founder of Brid...
More InfoPurchase CPD
of verifiable CPD
This recorded webinar explores different treatment options for managing carious primary and permanent molars. The speakers...
More InfoPurchase CPD
of verifiable CPD
With the ongoing integration of digital technologies into everyday practice, learn how you and your patients can benefit f...
More InfoPurchase CPD
of verifiable CPD
Worn anterior teeth can pose a dilemma in terms of the correct management, best use of materials, most conservative approa...
More InfoPurchase CPD
of verifiable CPD
There has always been a widespread misplaced belief that the duty of candour was introduced to fix a problem in medical/ho...
More InfoPurchase CPD
of verifiable CPD
In this recorded webinar speaker Jennifer Malpass takes you on a her journey through her career as a Dental Nurse leading ...
More InfoPurchase CPD
of verifiable CPD
Are you an informed clinician? The main aim of this recorded webinar is to encourage clinicians to keep up to date with de...
More InfoPurchase CPD
of verifiable CPD
This course based on a recorded webinar is the first in the CGDent 'Research and Critical Appraisal of Evidence' series of...
More InfoPurchase CPDof verifiable CPD
This is the second CGDent Lunch and Learn recorded webinar in the 'Research and Critical Appraisal of Evidence' series of ...
More InfoPurchase CPDof verifiable CPD
This is the third CGDent Lunch and Learn webinar in the 'Research and Critical Appraisal of Evidence' series of recorded w...
More InfoPurchase CPD
of verifiable CPD
Hosted by leading practice sales agency, PFM Dental, this recorded webinar is ideal for those interested in purchasing a d...
More InfoPurchase CPD
of verifiable CPD
In collaboration with the College of General Dentistry and Apolline.This recorded webinar provides an overview of...
More InfoPurchase CPD
of verifiable CPD
This recorded webinar, in collaboration with the British Orthodontic Society and presented by Dr Nadia Ahmed, provide...
More InfoPurchase CPD
of verifiable CPD
In collaboration with the College of General Dentistry and Office of Chief Dental Officer England, this recorded webinar d...
More InfoPurchase CPDof verifiable CPD
This three-part webinar series in collaboration with the College of General Dentistry and led by specialist orthodontist P...
More InfoPurchase CPD
of verifiable CPD
Presented by Dr David Johnson, acupuncture is a technique whereby diseases can be either cured or alleviated - or put in o...
More InfoPurchase CPDof verifiable CPD
In November 2020 Bridge2Aid hosted a 2 day conference on ‘Remote and Rural Healthcare – How Can we do it Bette...
More InfoPurchase CPD
of verifiable CPD
Louisa Sherlock discusses the question 'Are dental practice principals vicariously liable for the negligence of their asso...
More InfoPurchase CPD
of verifiable CPD
This recorded webinar discusses:Business culture, giving examples of positive culture and using it to comm...
More InfoPurchase CPD
of verifiable CPD
This virtual study session came about following discussions on the importance of monitoring water systems to understand th...
More InfoPurchase CPD
of verifiable CPD
In collaboration with CGDent and FGDP, speaker Jalpesh Patel presents the first webinar of this clinical series will explo...
More InfoPurchase CPD
of verifiable CPD
The first recording of this webinar series hosted by The Dental Technician Magazine editor and S4S Laboratory director Mat...
More InfoPurchase CPDof verifiable CPD
This recorded webinar is the third in a three part series series and it discusses orthodonti...
More InfoPurchase CPD
of verifiable CPD
Presented by Richard Jones in collaboration with BOS (British Orthodontic Society)This is the second recorded web...
More InfoPurchase CPD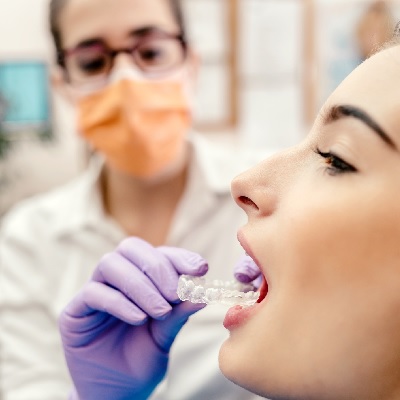
of verifiable CPD
In collaboration with BOS (British Orthodontic Society), this is the third webinar in a series of five designed for Genera...
More InfoPurchase CPD
of verifiable CPD
This recorded webinar presented by Balqees Bi gives dental team members an overview of the Mental Capacity Act, including ...
More InfoPurchase CPD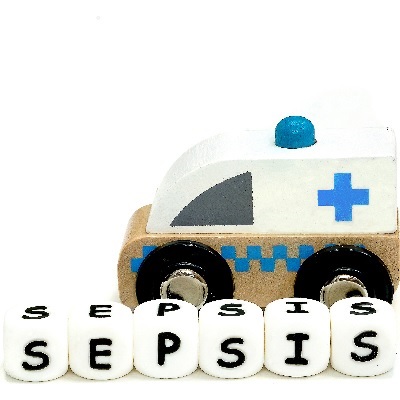
of verifiable CPD
Prevention is better than a cure and a stitch in time saves nine as the old adage goes, but the complications of serious d...
More InfoPurchase CPD
of verifiable CPD
This recorded webinar is in collaboration with the College of General Dentistry and the Dental Professional Alliance. Host...
More InfoPurchase CPDof verifiable CPD
This is the second webinar in this series, delivered by Jalpesh Patel, in collaboration with CGDent. This presentation enc...
More InfoPurchase CPD
of verifiable CPD
Speakers Sami Stagnell, Oral Surgeon & Arti Hindocha, Orthodontist present together in this recorded webinar to provid...
More InfoPurchase CPDof verifiable CPD
This is the third webinar in this series in collaboration with CGDent, which encompass an overview of Non-Surgical Facial ...
More InfoPurchase CPD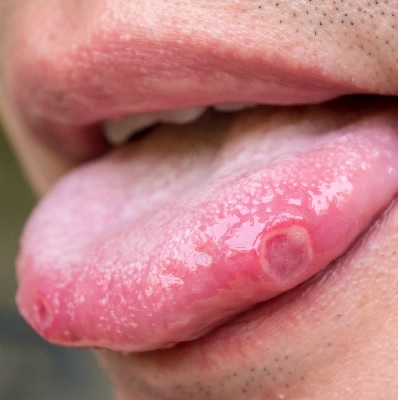
of verifiable CPD
Clinical situations that fall within the scope of oral medicine practice are common, but it isn’t always clear how c...
More InfoPurchase CPD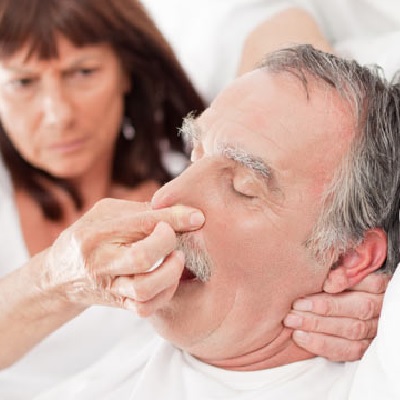
of verifiable CPD
Snoring is not necessarily a benign condition; it can be linked to the serious condition obstructive sleep apnoea (OSA). W...
More InfoPurchase CPDof verifiable CPD
In November 2020 Bridge2Aid hosted a 2 day conference on 'Remote and rural healthcare – how can we do it better?'....
More InfoPurchase CPD
of verifiable CPD
This webinar will explore the role of patient and citizen facing technology. We discuss chatbots, apps, and what the role ...
More InfoPurchase CPD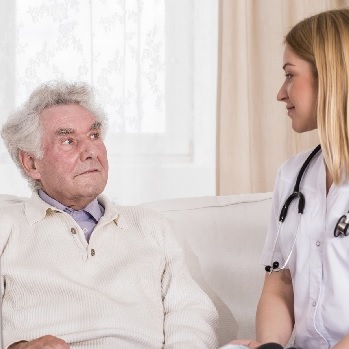
of verifiable CPD
The first of a two-part webinar series in collaboration with the College of General Dentistry, presented by Caroline Persa...
More InfoPurchase CPD
of verifiable CPD
This recorded webinar discusses the skill of reflective practice within the context of learning ...
More InfoPurchase CPD
of verifiable CPD
When you think about communicating with your team what comes up for you? Sharing information and updating? Mak...
More InfoPurchase CPD
of verifiable CPD
In collaboration with the College of General Dentistry, this recorded webinar discusses the new ultra short acting benzodi...
More InfoPurchase CPD
of verifiable CPD
In collaboration with the College of General Dentistry, this recorded webinar discusses how Ramadan, which commences aroun...
More InfoPurchase CPD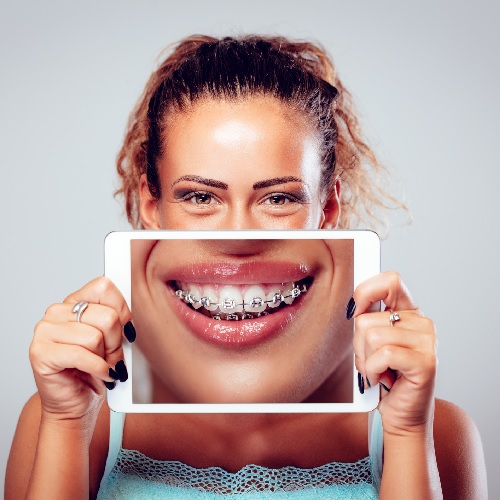
of verifiable CPD
This decision of who to treat and who to not treat creates all sorts of problems for orthodontist, patient and GDP since a...
More InfoPurchase CPD
of verifiable CPD
This recorded webinar offers a personal story of the devastating impact of suicide on family, friends and colleagues and a...
More InfoPurchase CPD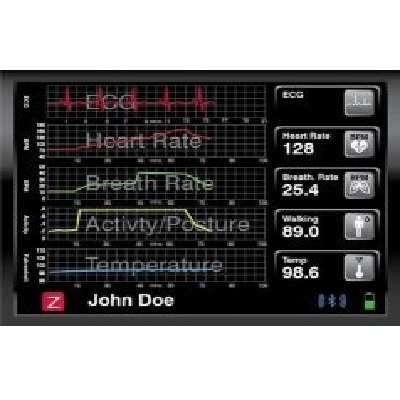
of verifiable CPD
Vital signs are important indicators of patients’ clinical condition and the dental team should be aware of the tool...
More InfoPurchase CPD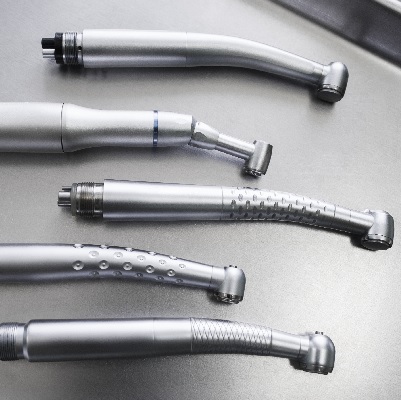
of verifiable CPD
This recorded webinar provides learners with an understanding of dental handpieces and highlights the importance of g...
More InfoPurchase CPD
of verifiable CPD
This recorded webinar equips learners with the knowledge of each role required in a dental practice and the responsibiliti...
More InfoPurchase CPD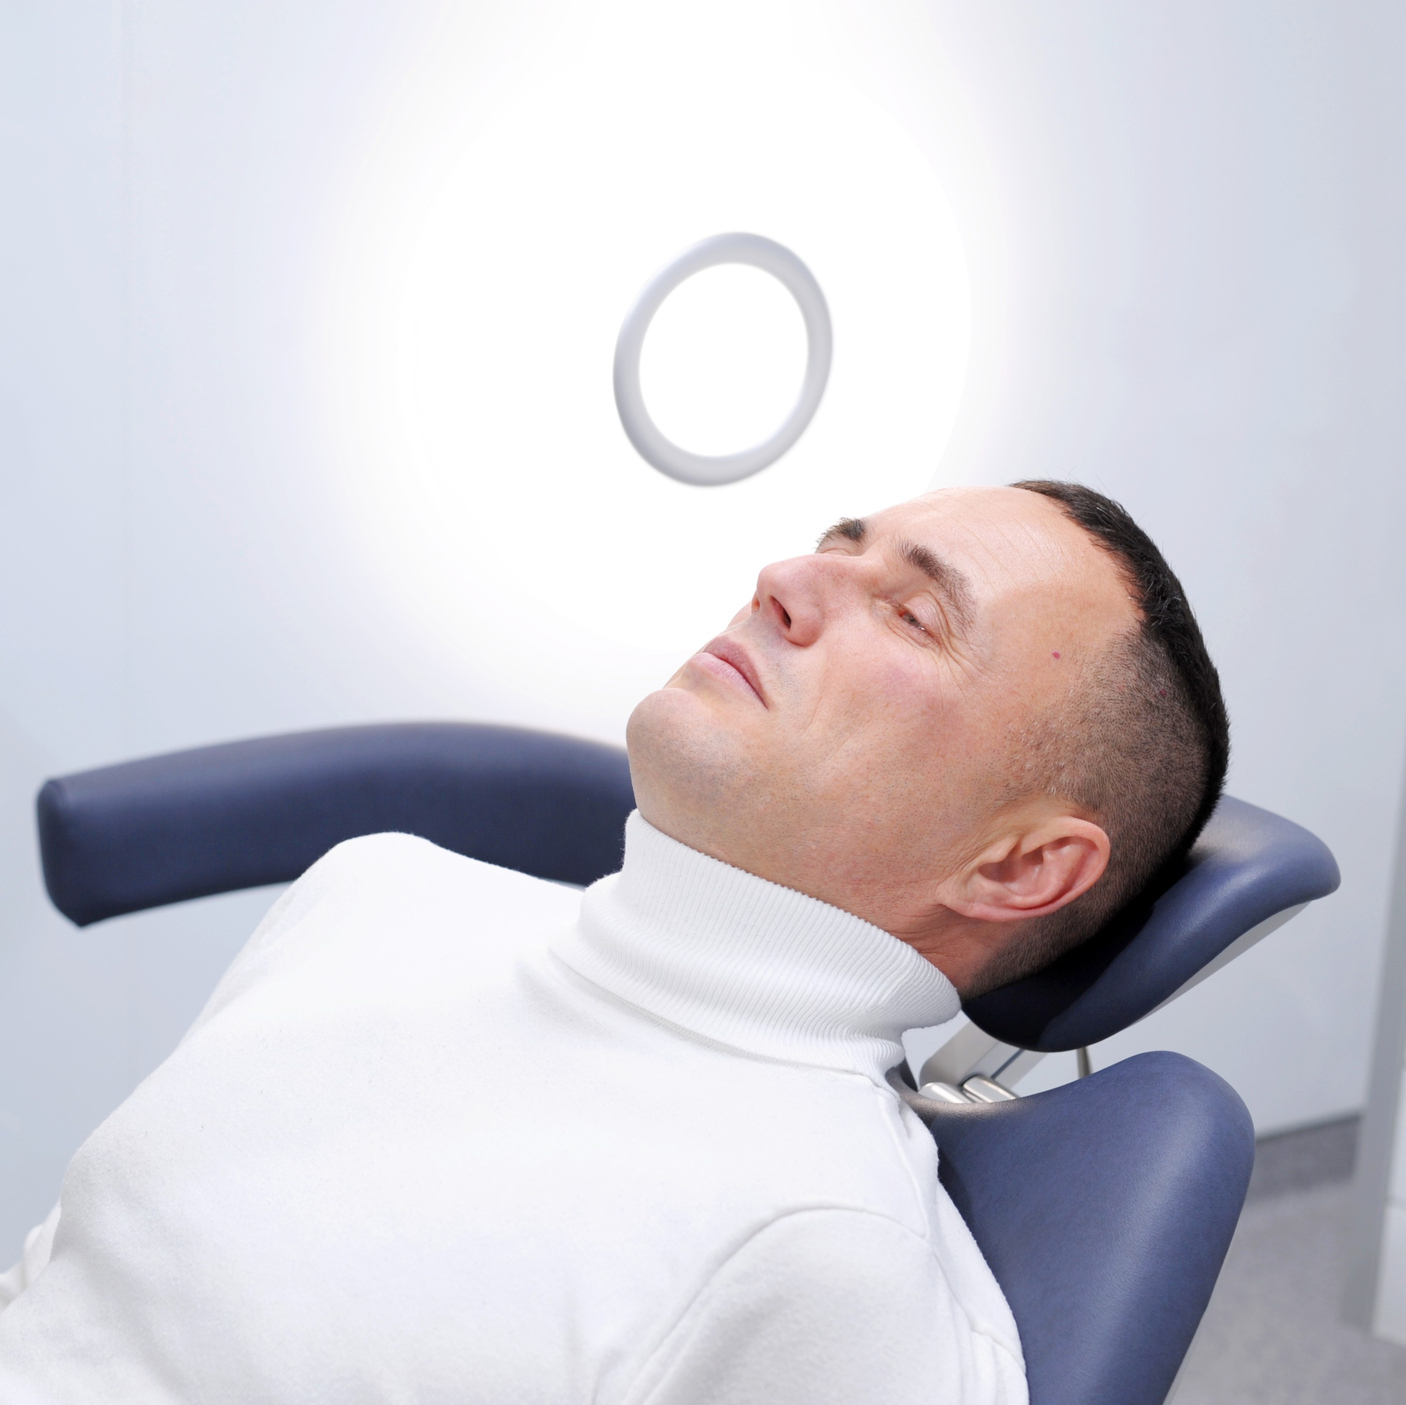
of verifiable CPD
When we think of hypnosis it may conjure in our minds people on a stage being asked to dance like chickens, so how then ca...
More InfoPurchase CPDof verifiable CPD
The second of a two-part recorded webinar series in collaboration with the College of General Dentistry, presented by Caro...
More InfoPurchase CPD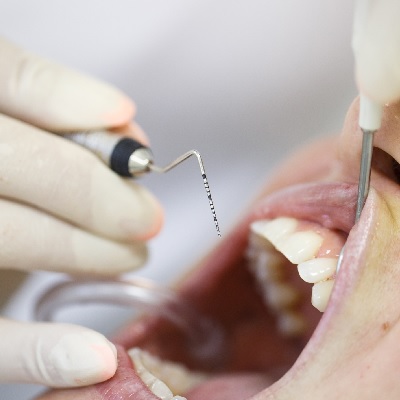
of verifiable CPD
With advances in dental healthcare technology, hygienists no longer have to watch periodontal disease progress and wait un...
More InfoPurchase CPD
of verifiable CPD
There has been a significant increase in the knowledge and understanding of the aetiology, pathogenesis, and treatment of ...
More InfoPurchase CPD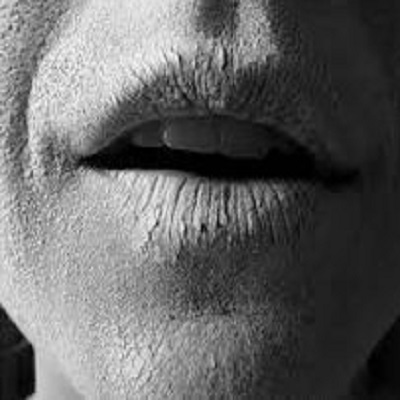
of verifiable CPD
Polypharmacy in the nation’s growing geriatric population will require increasingly complex pharmacologic management...
More InfoPurchase CPD
of verifiable CPD
This course covers both the professional and statutory duty of candour. It looks at the importance of open...
More InfoPurchase CPD
of verifiable CPD
Medical emergencies in general dental practice are thankfully a rare occurrence but they can occur at any time. This artic...
More InfoPurchase CPD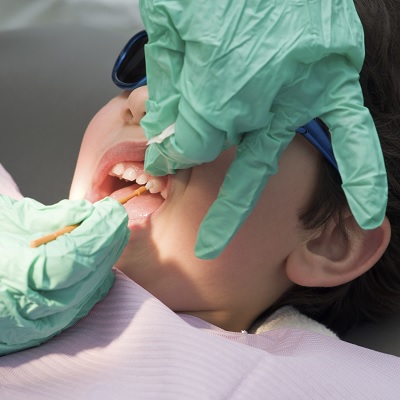
of verifiable CPD
Health professionals have a new opportunity to help prevent tooth decay in young children and root caries in older people....
More InfoPurchase CPD
of verifiable CPD
Pre-eclampsia and preterm delivery of low birth weight infants (PLBW) remains a significant public health issue and a lead...
More InfoPurchase CPD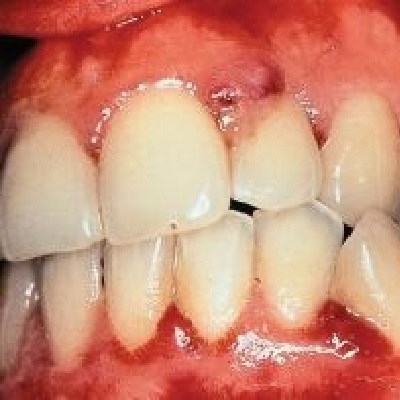
of verifiable CPD
Oral infection, especially gingivitis and periodontitis may affect course and pathogenesis of a number of systemic disease...
More InfoPurchase CPD
of verifiable CPD
This foundation course explains how dentistry contributes to climate change and ecological degradation, and helps dental c...
More InfoPurchase CPD
of verifiable CPD
This paper is an introduction to dental anxiety, fear and phobia for all of the dental team - please encourage them all to...
More InfoPurchase CPD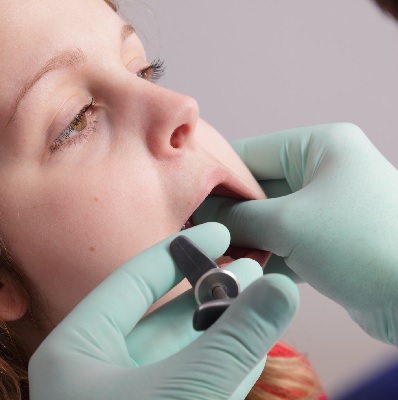
of verifiable CPD
Injecting local anaesthetics can become routine for dental practitioners because of the high efficacy and wide safety marg...
More InfoPurchase CPD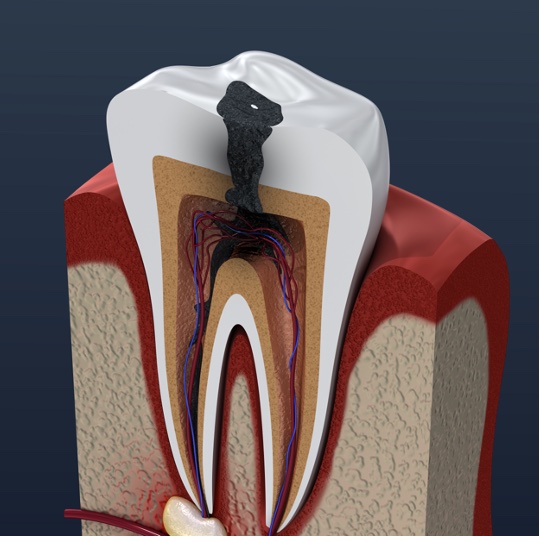
of verifiable CPD
This is the first module in our Endodontics series of 10 recorded webinars. It covers the first aspect in p...
More InfoPurchase CPD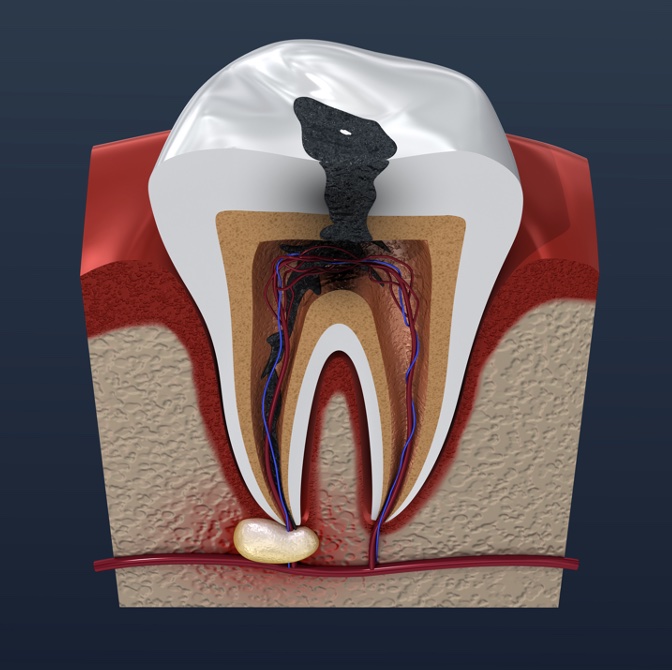
of verifiable CPD
This is the second module in our Endodontics series of 10 recorded webinars. It covers pain control in endo...
More InfoPurchase CPD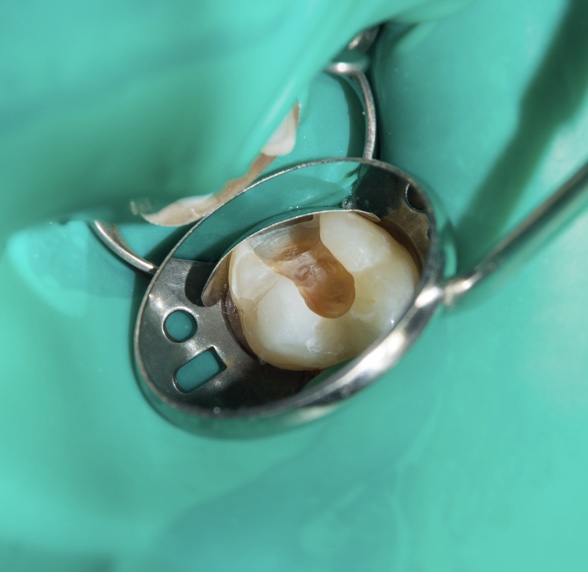
of verifiable CPD
This is the third module in our Endodontics series of 10 recorded webinars. It covers rubber dam isolation ...
More InfoPurchase CPD
of verifiable CPD
This is the fourth module in our Endodontics series of 10 recorded webinars. It covers endodontic workflow ...
More InfoPurchase CPD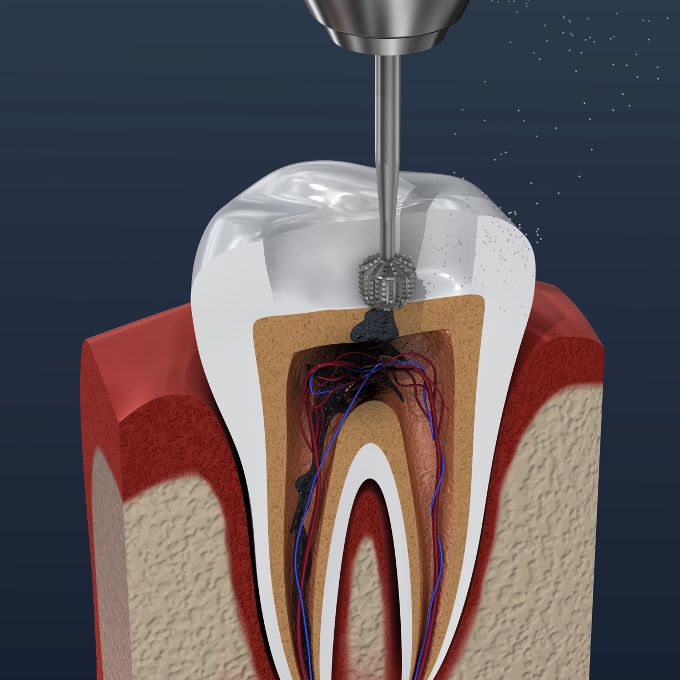
of verifiable CPD
This is the fifth module in our Endodontics series of 10 recorded webinars. It covers root canal anatomy an...
More InfoPurchase CPD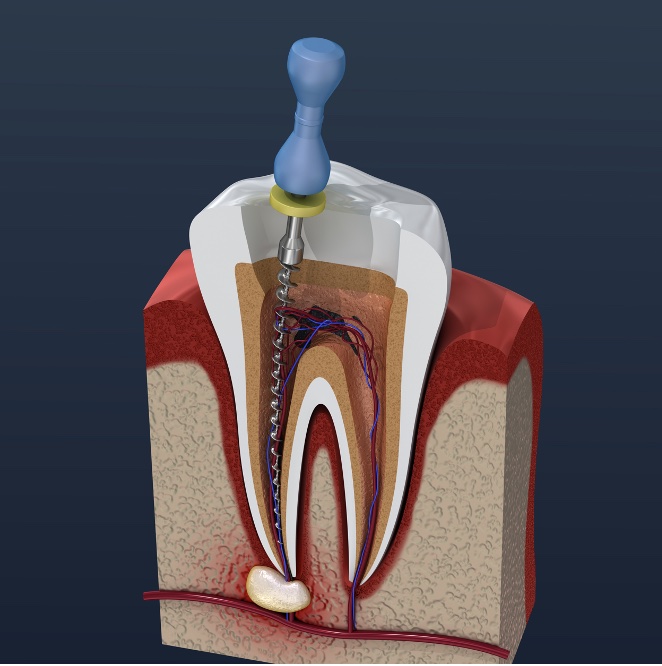
of verifiable CPD
This is the sixth module in our Endodontics series of 10 recorded webinars. It covers working length and ro...
More InfoPurchase CPD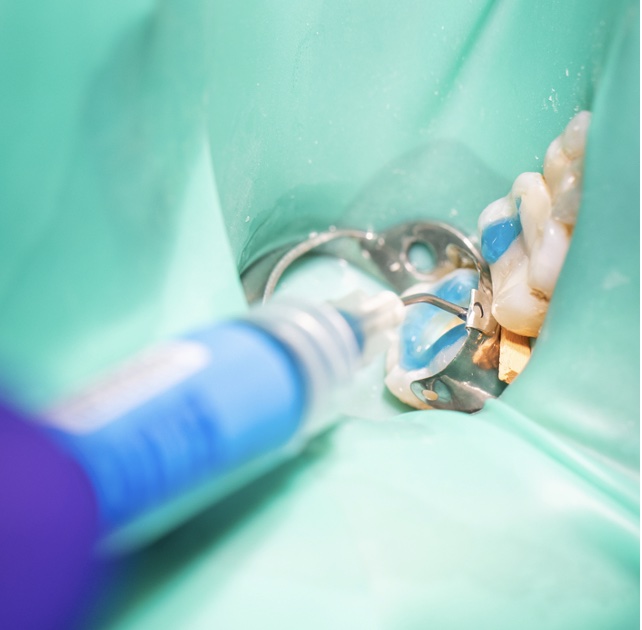
of verifiable CPD
This is the seventh module in our Endodontics series of 10 recorded webinars. It covers root canal irrigati...
More InfoPurchase CPD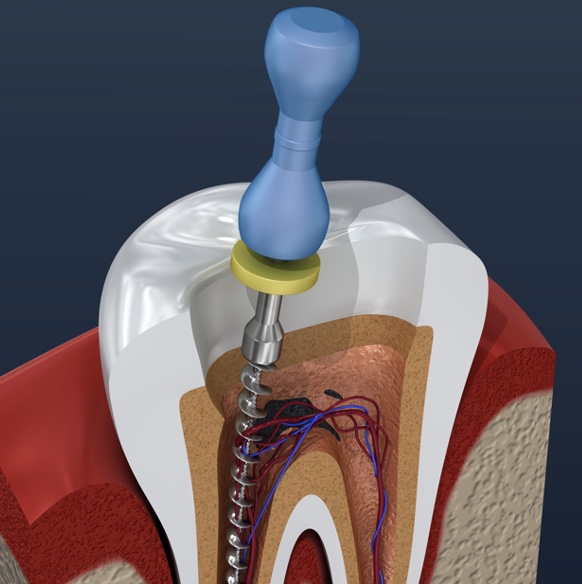
of verifiable CPD
This is the eighth module in our Endodontics series of 10 recorded webinars. It covers endodontic obturatio...
More InfoPurchase CPD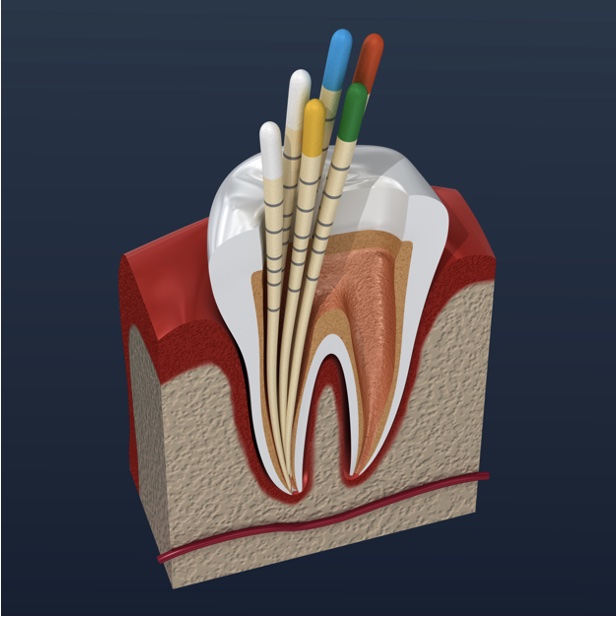
of verifiable CPD
This is the ninth module in our Endodontics series of 10 recorded webinars. It covers post endodontic resto...
More InfoPurchase CPD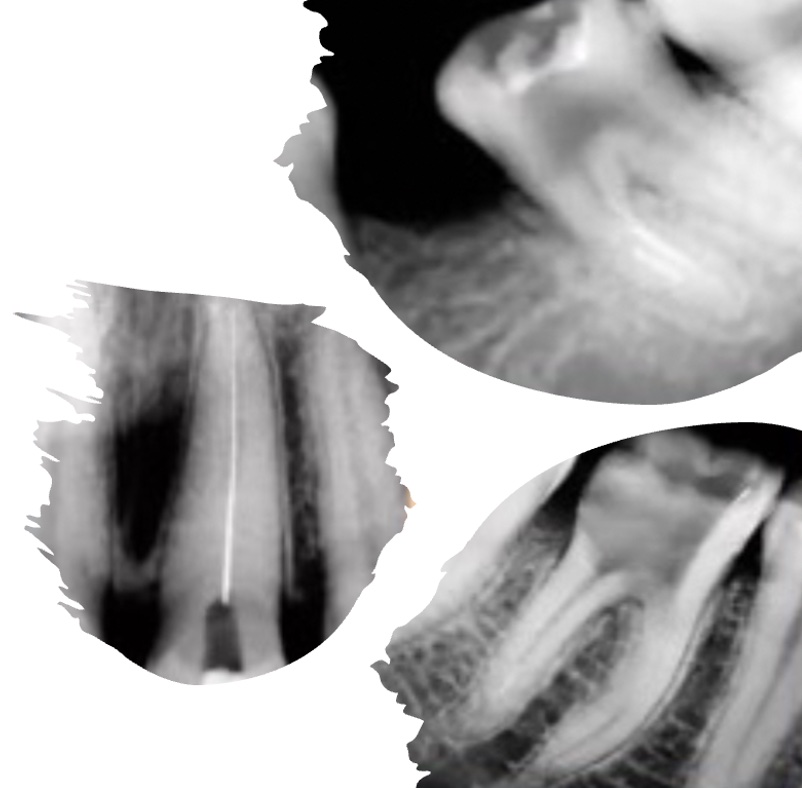
of verifiable CPD
This is the tenth and final module in our Endodontics series of 10 recorded webinars. It covers management ...
More InfoPurchase CPDof verifiable CPD
of verifiable CPD
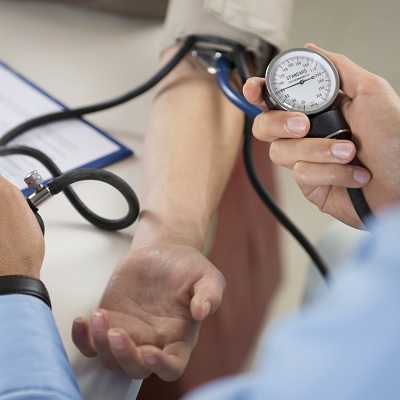
Screening for blood pressure by the dental professional has proven to be extremely effective since most patients with hype...
More InfoPurchase CPD
of verifiable CPD
Smoking is the most important public health challenge facing the NHS. Although rates of smoking have steadily declined in ...
More InfoPurchase CPD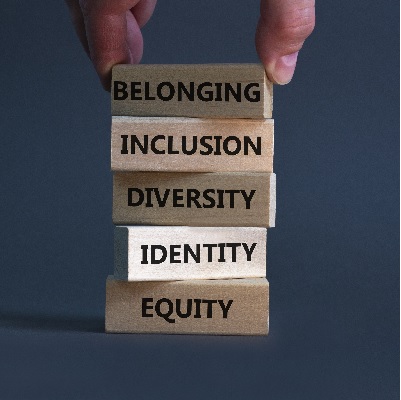
of verifiable CPD
The effects of discrimination on an individual and on society is rippling. But resistance towards challenging the biases w...
More InfoPurchase CPD
of verifiable CPD
In collaboration with the College of General Dentistry.AI is entering our everyday lives – but what is behi...
More InfoPurchase CPD
of verifiable CPD
Does your team have ‘thinking together’ skills, as well as ‘acting together’ skills? Both ar...
More InfoPurchase CPD
of verifiable CPD
In this recorded webinar, Keerut Oberai introduces the topic of data ethics. With the increase in data used in healthcare ...
More InfoPurchase CPD
of verifiable CPD
Some people just get on and do what’s needed and others need a little more support. As a leader it’s com...
More InfoPurchase CPD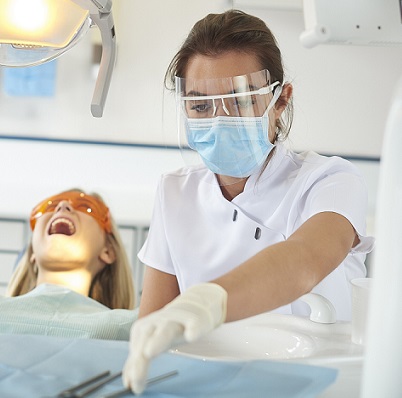
of verifiable CPD
This recorded webinar will look at the effective use of skill-mix in primary dental care for Dental Therapists and De...
More InfoPurchase CPD
of verifiable CPD
Do you work with dental therapists? Are you utilising their full scope? Could your therapists be providing more aesthetic ...
More InfoPurchase CPD
of verifiable CPD
This recorded webinar will explore the use of the Hall Technique for managing caries in primary molars and will focus...
More InfoPurchase CPD
of verifiable CPD
What do you think of when the word conflict comes up? Most people think of fights or shouting matches. But mos...
More InfoPurchase CPD
of verifiable CPD
This recorded webinar aims to raise awareness of whistleblowing and to discuss what our obligations are as dental professi...
More InfoPurchase CPD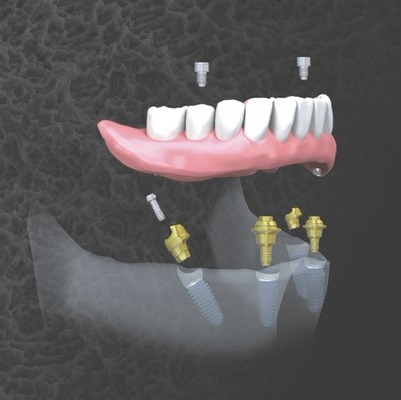
of verifiable CPD
Placing a dental implant in an extraction site is somewhat different to placing it in a healed site, and even more so when...
More InfoPurchase CPD
of verifiable CPD
In this recorded webinar the speakers will explain the importance of language and communication as a tool for not onl...
More InfoPurchase CPD
of verifiable CPD
This recorded webinar provides a personal lived experience account of a dental professional living with, in denial from, a...
More InfoPurchase CPD
of verifiable CPD
At the beginning of every implantological intervention, especially in compromised situations, there is the reconstruction ...
More InfoPurchase CPD
of verifiable CPD
It is difficult to over stress the importance of a good history for every patient. In some cases, the history may provide ...
More InfoPurchase CPD
of verifiable CPD
Most pregnant patients are generally healthy and need not be denied dental treatment solely because they are pregnant. How...
More InfoPurchase CPD
of verifiable CPD
Taking care of someone with a developmental disability requires patience and skill. As a caregiver, you know this as well ...
More InfoPurchase CPD
of verifiable CPD
The knowledge and skill of the dental team in managing patients with mental health problems has been cited as low. Low tol...
More InfoPurchase CPD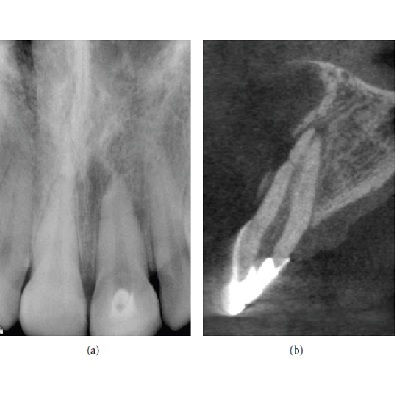
of verifiable CPD
Cone Beam Computed Tomography (CBCT) is a diagnostic imaging modality that provides high-quality, accurate threedimensiona...
More InfoPurchase CPD
of verifiable CPD
Should we be offering advanced sedation techniques for adults in the primary care setting or should cases that require a d...
More InfoPurchase CPD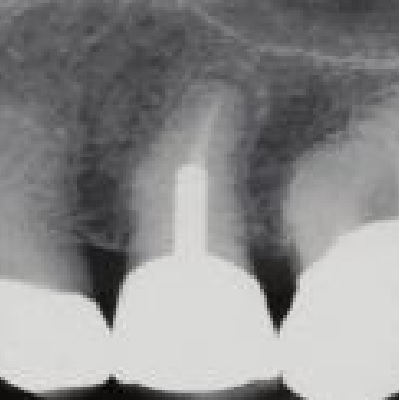
of verifiable CPD
Coronal restorations and posts can positively influence the long-term prognosis of teeth following root canal therapy. Fin...
More InfoPurchase CPD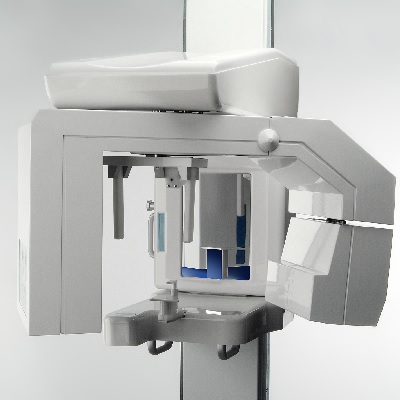
of verifiable CPD
This article will address the problems and errors that may occur in the panoramic radiograph when mistakes are made at any...
More InfoPurchase CPDof verifiable CPD
This course has been produced in collaboration with Tida.It aims to provide you with clear understanding of the h...
More InfoPurchase CPD
of verifiable CPD
This course has been produced in collaboration with tida. It aims to provide you with an understanding of conscious a...
More InfoPurchase CPDof verifiable CPD
This course has been produced in collaboration with tida. It aims to give you a clear understanding of what equa...
More InfoPurchase CPD
of verifiable CPD
In addition to several other chronic diseases, tobacco use is a primary cause of many oral diseases and adverse oral condi...
More InfoPurchase CPD
of verifiable CPD
This guidance is suitable for informing dental practitioners in the primary care sector, and applies to all patients, incl...
More InfoPurchase CPD
of verifiable CPD
This guidance is suitable for informing dental practitioners in the primary care sector, and applies to all patients, incl...
More InfoPurchase CPD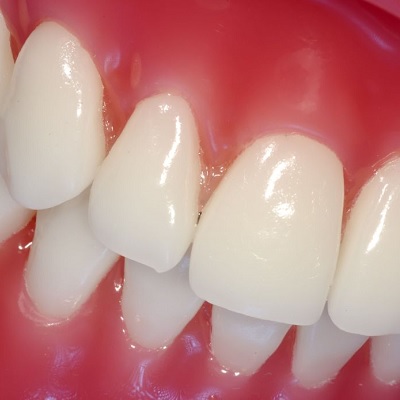
of verifiable CPD
Gingivitis, which is prevalent in a large proportion of the child and adult populations, is an inflammatory lesion of the ...
More InfoPurchase CPD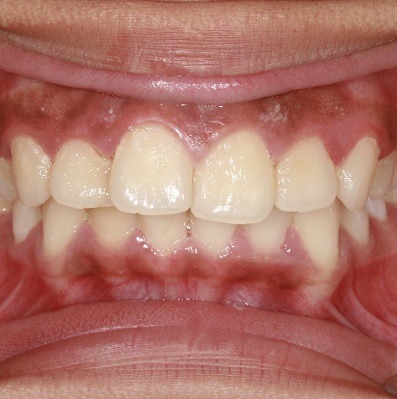
of verifiable CPD
This article attempts to throw light on the nature of plaque biofilms and the strategies towards their control. Biofilms a...
More InfoPurchase CPD
of verifiable CPD
Epilepsy is the most common chronic neurologic disorder in paediatric neurology and the predominant aetiologies are birth ...
More InfoPurchase CPD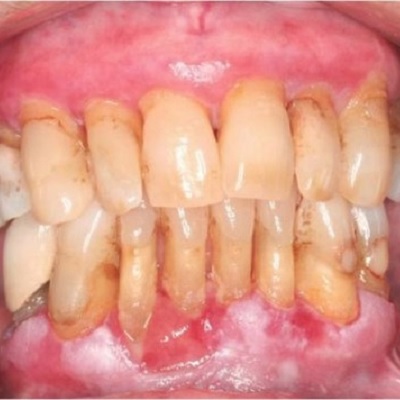
of verifiable CPD
Gingivitis can have multiple origins and can be the manifestation of a wide range of systemic diseases. Gingival tissue in...
More InfoPurchase CPD
of verifiable CPD
Change is part of life, and we are always in a state of change, both externally and internally; physically and mentally.&n...
More InfoPurchase CPD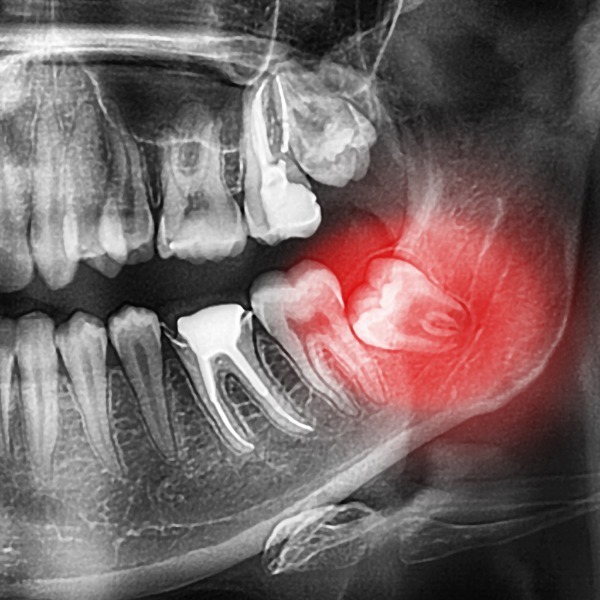
of verifiable CPD
Like history taking, examination necessitates a systematic approach. As a general rule, use your eyes first, then yo...
More InfoPurchase CPD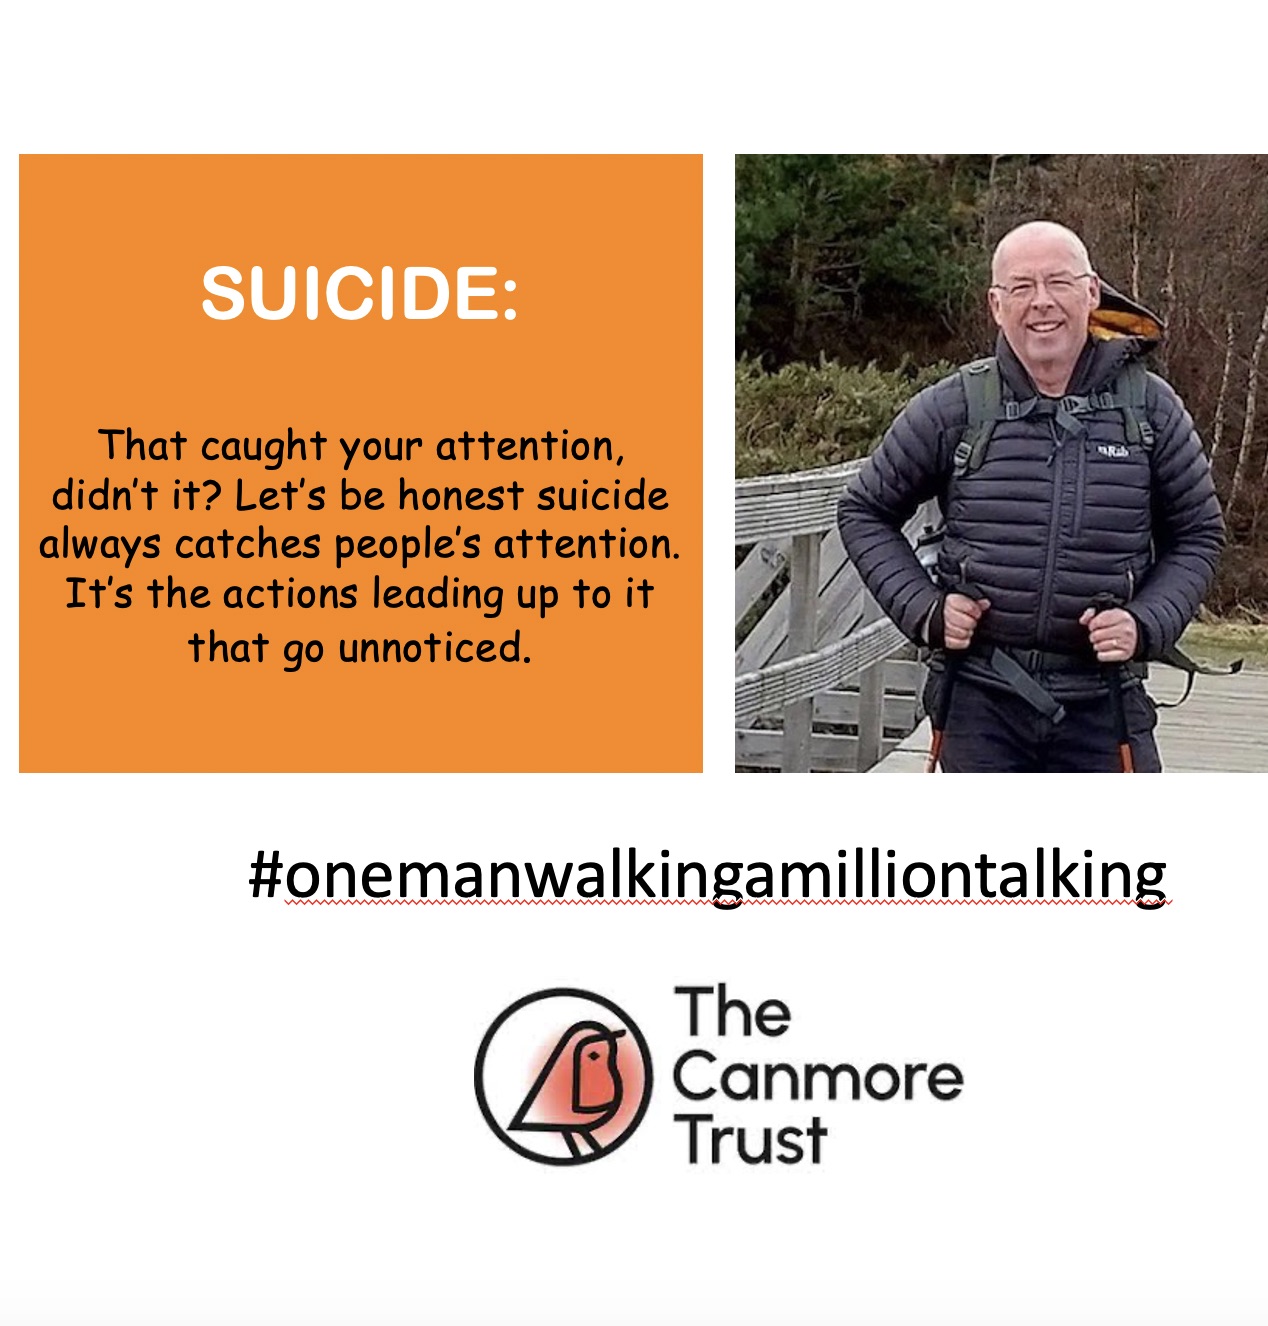
of verifiable CPD
On 20 October 2019 John lost his son Cameron to suicide. In this recorded webinar John talks about his journey so far and ...
More InfoPurchase CPD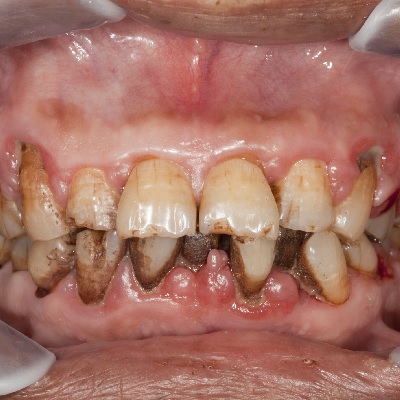
of verifiable CPD
With mouth cancer patients a great deal of emphasis is placed on the early detection, subsequent treatment and then hopefu...
More InfoPurchase CPD
of verifiable CPD
The BDJ in Practice, November 2015 reported:'Over one-third of UK employees say that have not received appropriat...
More InfoPurchase CPD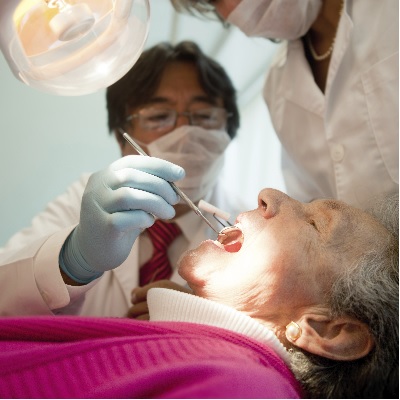
of verifiable CPD
Traditionally, oral health has been viewed as the sole responsibility of the dental fraternity. However, with increasing a...
More InfoPurchase CPD
of verifiable CPD
Merskey (1979) defined pain as an, 'unpleasant sensory and emotional experience associated with actual or potential damage...
More InfoPurchase CPD
of verifiable CPD
Confidentiality is essential in establishing effective clinical relationships with patients. Without an assurance of confi...
More InfoPurchase CPD/P730%20Consent%20to%20care%20and%20treatment%20CQC%20outcome%202%20(Regulation%2011.jpg)
of verifiable CPD
Obtaining valid consent from patients prior to any medical or dental intervention is an ethical and legal requirement of a...
More InfoPurchase CPD/P731%20Dental%20records%20CQC%20outcome%2021%20(Regulation%2020).jpg)
of verifiable CPD
A good medical or dental record should be comprehensive and accessible. It should comprise history, examination, investiga...
More InfoPurchase CPD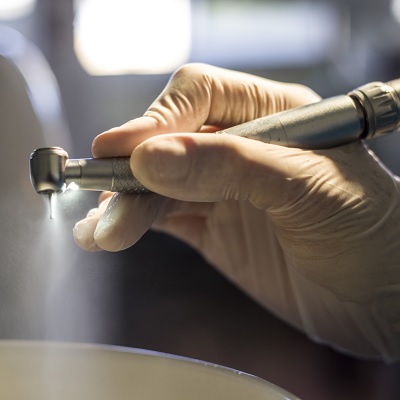
of verifiable CPD
This learning module will help to explain the most appropriate methods of care and maintenance of handpieces in a clear an...
More InfoPurchase CPD
of verifiable CPD
Under the First Aid Regulations, all workplaces must have adequate first aid provision available for all employees, althou...
More InfoPurchase CPD
of verifiable CPD
Incorrect control of hazardous substances could cause harm to employees, contractors and other people.Some substa...
More InfoPurchase CPD%202013/P781.jpg)
of verifiable CPD
This course gives guidance on how the Reporting of Injuries, Diseases and Dangerous Occurrences Regulations 2013 (RIDDOR) ...
More InfoPurchase CPD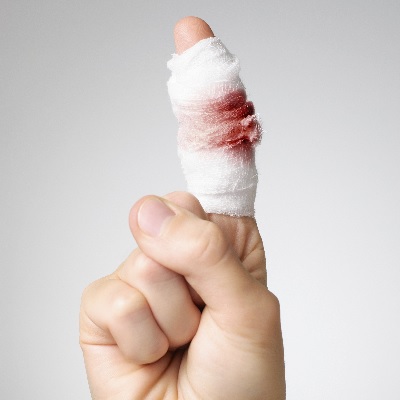
of verifiable CPD
Under the First Aid Regulations, all workplaces must have adequate first aid provision available for all employees, althou...
More InfoPurchase CPD
of verifiable CPD
Under the First Aid Regulations, all workplaces must have adequate first aid provision available for all employees, althou...
More InfoPurchase CPD
of verifiable CPD
Under the First Aid Regulations, all workplaces must have adequate first aid provision available for all employees, althou...
More InfoPurchase CPD
of verifiable CPD
Under the First Aid Regulations, all workplaces must have adequate first aid provision available for all employees, althou...
More InfoPurchase CPD
of verifiable CPD
Prior to the 2010 there were multiple laws in place to ensure equality and diversity, these laws were amalgamated in the E...
More InfoPurchase CPD
of verifiable CPD
It is important that staff and patients feel safe in the practice environment, early detection and management of sit...
More InfoPurchase CPD
of verifiable CPD
Confidentiality is essential in establishing effective clinical relationships with patients. Without an assurance of confi...
More InfoPurchase CPD
of verifiable CPD
In this module we will look at dementia - its causes, symptoms and the impact that it has. We will also look at how to rec...
More InfoPurchase CPD
of verifiable CPD
This course helps you to understand and comply with the Health and Safety (Display Screen Equipment) Regulations 1992....
More InfoPurchase CPD
of verifiable CPD
This course educates you about the most common slip, trip, and fall hazards and why they might develop in your workplace, ...
More InfoPurchase CPD
of verifiable CPD
Change is part of life, and we are always in a state of change, both externally and internally; physically and mentally.&n...
More InfoPurchase CPD
of verifiable CPD
A look at the planned changes in dental CPD, the enhanced CPD scheme from the GDC. In 2018 all dental professionals will f...
More InfoPurchase CPD/P803%20General%20Data%20Protection%20Regulation%20(GDPR).jpg)
of verifiable CPD
This module outlines the key changes from the Data Protection Act (DPA) to the General Data Protection Regulation (GDPR) a...
More InfoPurchase CPD
of verifiable CPD
Each year in the Health and Social Care sector around 2% of workers sustain a work related injury.78,000 self rep...
More InfoPurchase CPD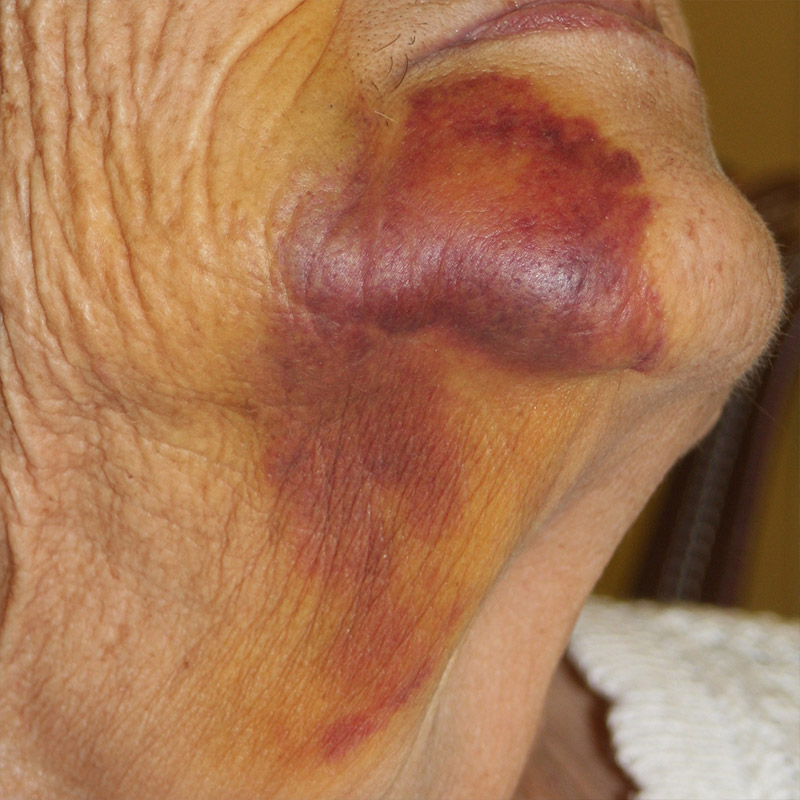
of verifiable CPD
A series of 3 interactive modules looking at the cause and treatment of bleeding disorders in the dental patient....
More InfoPurchase CPD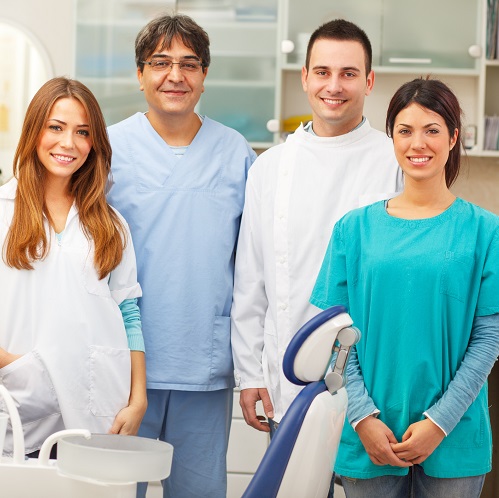
of verifiable CPD
This lecture presented by Dr Richard Cure and recorded at the Dental Nurse Educators Event, Birmingham 2018, discusses int...
More InfoPurchase CPD
of verifiable CPD
This lecture presented by Dr Michael Snowden and recorded at the Dental Nurse Educators Event in Birmingham looks at mento...
More InfoPurchase CPD.jpg)
of verifiable CPD
The second instalment in the 2017 Geistlich UK Webinar Series presented by Dr. Shakeel Shahdad gives a comprehensive revie...
More InfoPurchase CPD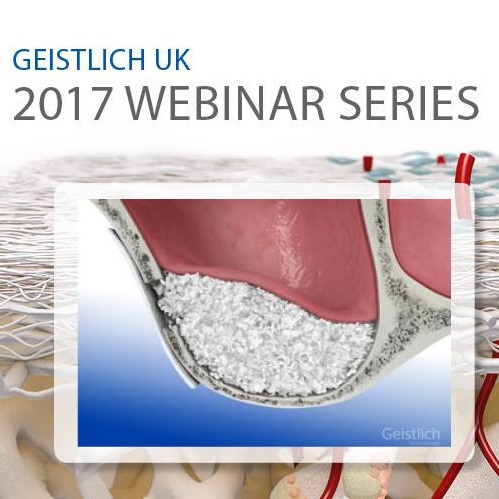
of verifiable CPD
The final instalment in the 2017 Geistlich UK Webinar Series presented by Dr. David Furze looks at Guided Bone Regeneratio...
More InfoPurchase CPD
of verifiable CPD
This webinar recording, will provide a great starting point for any clinician looking to find out more about ridge alterat...
More InfoPurchase CPD
of verifiable CPD
Sepsis is not always easy to diagnose. When it is at an advanced stage with multiple abnormal physiological parameters it ...
More InfoPurchase CPDof verifiable CPD
Stephen Barter has worked at Perlan Specialist Centre, Eastbourne, UK for the past ten years as part of a multidisciplinar...
More InfoPurchase CPDof verifiable CPD
Marcus Seiler received his dental training at Karl-Eberhard University in Tübingen. His specialty training in Oral Su...
More InfoPurchase CPD
of verifiable CPD
A disability may be genetic, congenital (born with), or can occur at any point during a person’s lifetime, which can...
More InfoPurchase CPD
of verifiable CPD
Trafficking in human beings is a modern form of slavery and is a well-known phenomenon throughout the European Union and b...
More InfoPurchase CPD
of verifiable CPD
Providing oral care to people with special needs requires adaptation of the skills you use every day. In fact, most people...
More InfoPurchase CPD
of verifiable CPD
Female Genital Mutilation (FGM) is child abuse and illegal.Regulated health and social care professionals are req...
More InfoPurchase CPD
of verifiable CPD
This course aims to promote good clinical practice for the provision of conscious sedation in dentistry that is both safe ...
More InfoPurchase CPD
of verifiable CPD
Adam Weston (partner in the law firm BLM) gives an excellent presentation on the role of the GDC, looking at what hapens i...
More InfoPurchase CPD
of verifiable CPD
This video based course gives an excellent overview of why, when and how a complaint happens, the consequences of inaction...
More InfoPurchase CPD
of verifiable CPD
A brief overview of the current dental negligence process in the UK, from the clinicians viewpoint. Looking at likely scen...
More InfoPurchase CPD
of verifiable CPD
A look at the scope of the Mental Capacity Act 2005 as it applies to providers of dental care and dental treatment. A look...
More InfoPurchase CPD
of verifiable CPD
During this presentation, Andrew will be discussing the importance of soft tissue management when providing successful lon...
More InfoPurchase CPD
of verifiable CPD
Speakers: Dr Kiaran Weil - Chair of Clinical Advisory Group, Bridge2Aid and Dr Kathy Wilson
More InfoPurchase CPD
of verifiable CPD
In this talk Dr Vicky and Dr Nigel Milne explore the challenges faced by a small charity in providing dental care in a rur...
More InfoPurchase CPD
of verifiable CPD
Maasai Molar was established in 2018 to provide oral healthcare in the Aitong region of Kenya. Through local partnerships ...
More InfoPurchase CPD
of verifiable CPD
This recorded webinar explores NOMA as a Case Study.Speaker Dr Ife Adetula looks at how the unmet oral health nee...
More InfoPurchase CPD
of verifiable CPD
Speaker - Erick Venant, Founder and CEO –RBA Initiative, Tanzania.In this recorded webinar Eric Venant expl...
More InfoPurchase CPD
of verifiable CPD
Speaker Dr Rawlance Ndejjo shares experiences that they have had delivering a community cardiovascular disease (CVD) preve...
More InfoPurchase CPD
of verifiable CPD
In this recorded webinar speakers Nura Aydid Ibrahim and Dr Manal Gas share their experiences bringing a me...
More InfoPurchase CPD
of verifiable CPD
Speaker Dr Penelope Granger shares her experiences working as a dentist remotely, including working in Tristan Da Cunha, a...
More InfoPurchase CPD
of verifiable CPD
This recorded webinar discusses the challenges and benefits of upskilling and teaching dental professionals using mobile d...
More InfoPurchase CPDof verifiable CPD
This course is a panel discussion exploring the practice of infant oral mutilation. What is it? Where does it take p...
More InfoPurchase CPD
of verifiable CPD
Speaker Katie Read-Challen, BSc in Global Health (currently studying dentistry).Katie is a final year dental...
More InfoPurchase CPD
of verifiable CPD
This recorded webinar is a panel discussion exploring Remote and Rural Heathcare and the Lessons Learned.The talk...
More InfoPurchase CPDof verifiable CPD
Speakers: Sarah Shoffstall-Cone - Interim Director Oral Health Promotion at Alaska Native Tribal Health, ...
More InfoPurchase CPDof verifiable CPD
In this talk Dr Nila Jackson shares with us his personal testimony, his personal experiences and solutions to the issues o...
More InfoPurchase CPDof verifiable CPD
This talk took place during Bridge2Aid's Virtual Global Health Conference November 2020 - Global Remote and Rural Healthca...
More InfoPurchase CPDof verifiable CPD
of verifiable CPD
A panel discussion to explore ethical global healthcare partnerships, the challenges involved, mutual benefits, achievemen...
More InfoPurchase CPD
of verifiable CPD
Dr Merlin Wilcox gives us a fascinating insight into research into the use of 'green pharmacies' to grow effective herbal ...
More InfoPurchase CPD
of verifiable CPD
In this talk, Chris explores the delivery of accessible and sustainable healthcare through the development of partnerships...
More InfoPurchase CPD
of verifiable CPD
A short online course for Principals and Practice Managers covering the basics of how to excel at Corporate Social Respons...
More InfoPurchase CPD